How to install kitchen door handles
Your step-by-step guide to a perfect finish
Find Your Perfect Door Handle with Doorfinder
Don’t worry—you don’t need to be a professional joiner to get this right. Installing handles is the final touch that brings your kitchen to life.
We have designed this guide to be as hassle-free as possible, ensuring you get professional results without the stress.
With just 10 minutes and a few basic tools, you can finish your custom doors. Grab yourself a cup of tea, and let’s get started.

1. Gather your tools
Prepare a tape measure, pencil, masking tape, a drill with a 5mm wood bit, an adjustable square, and a screwdriver.
2. Know the standard
While you can place handles anywhere, the industry standard position is usually 50mm from the side edge and 50mm from the top or bottom edge of the door.
3. Check handle centres
“Centres” refers to the distance between the two screw holes on your handle. Always measure this on the handle itself before drilling to ensure accuracy.
4. Protect your doors
Drilling can cause the back of the door to splinter (blowout). We recommend placing a scrap block of wood behind the door where you are drilling to keep the exit hole neat.
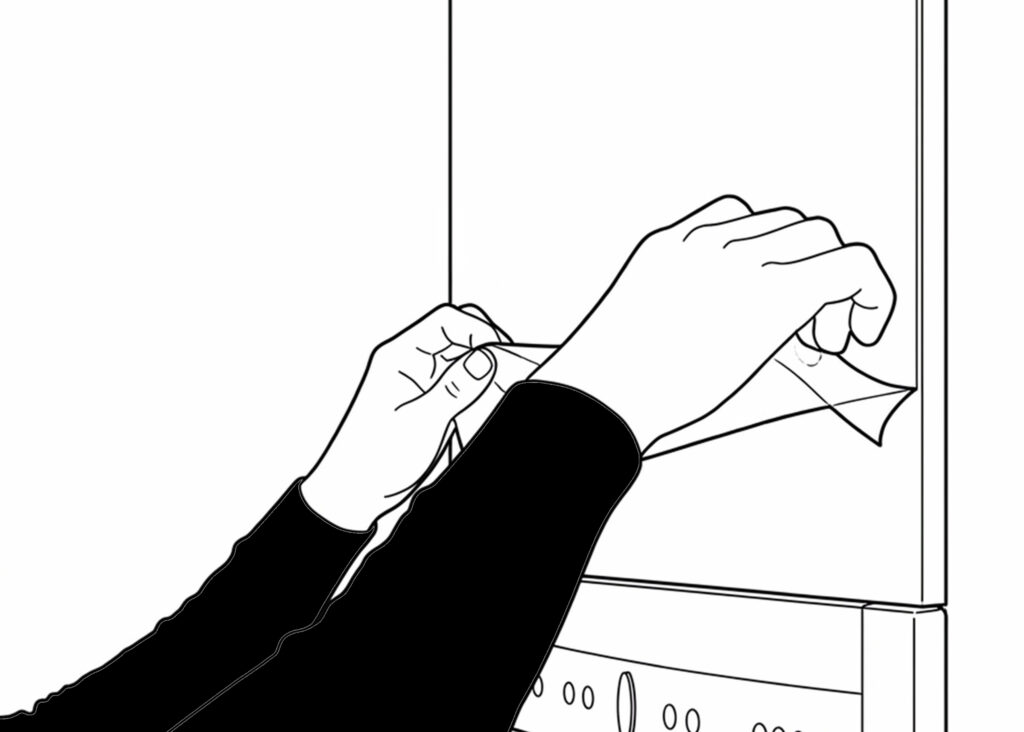
Step 1: Prepare the Surface
If your new doors have a protective plastic film, peel it back from the area where the handle will be installed. This ensures you are measuring directly against the door surface and prevents plastic from getting trapped under the handle later.
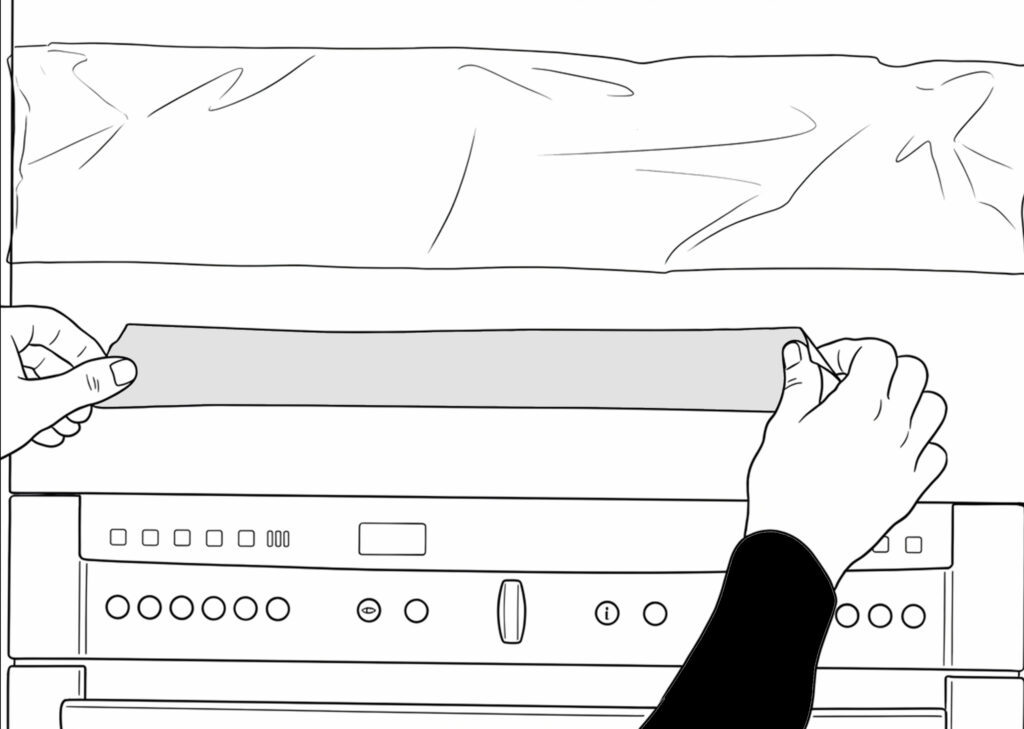
Step 2: Apply Masking Tape
Stick a strip of masking tape roughly where the handle will go. This serves two purposes: it allows you to mark your drilling points clearly with a pencil without drawing on the door, and it helps prevent the drill bit from slipping on the smooth surface.
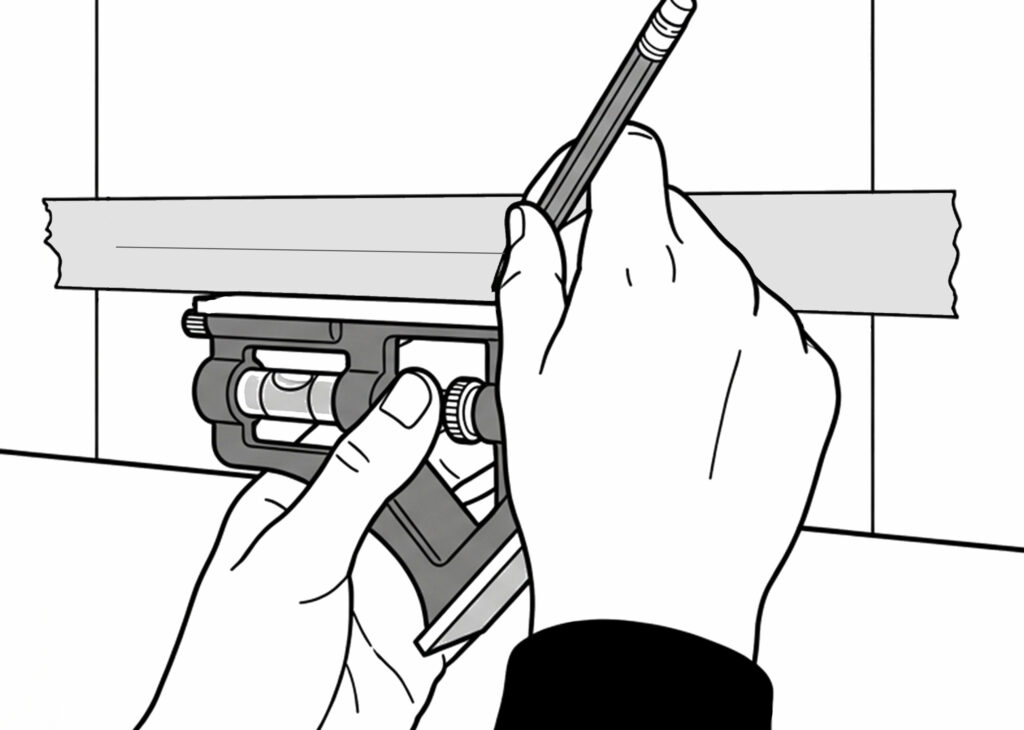
Step 3: Mark the Side Distance
Set your adjustable square to the desired distance from the edge (standard is usually 50mm). Rest the lip of the square against the side of the door and draw a vertical line on the masking tape. This ensures your handle will be perfectly straight.
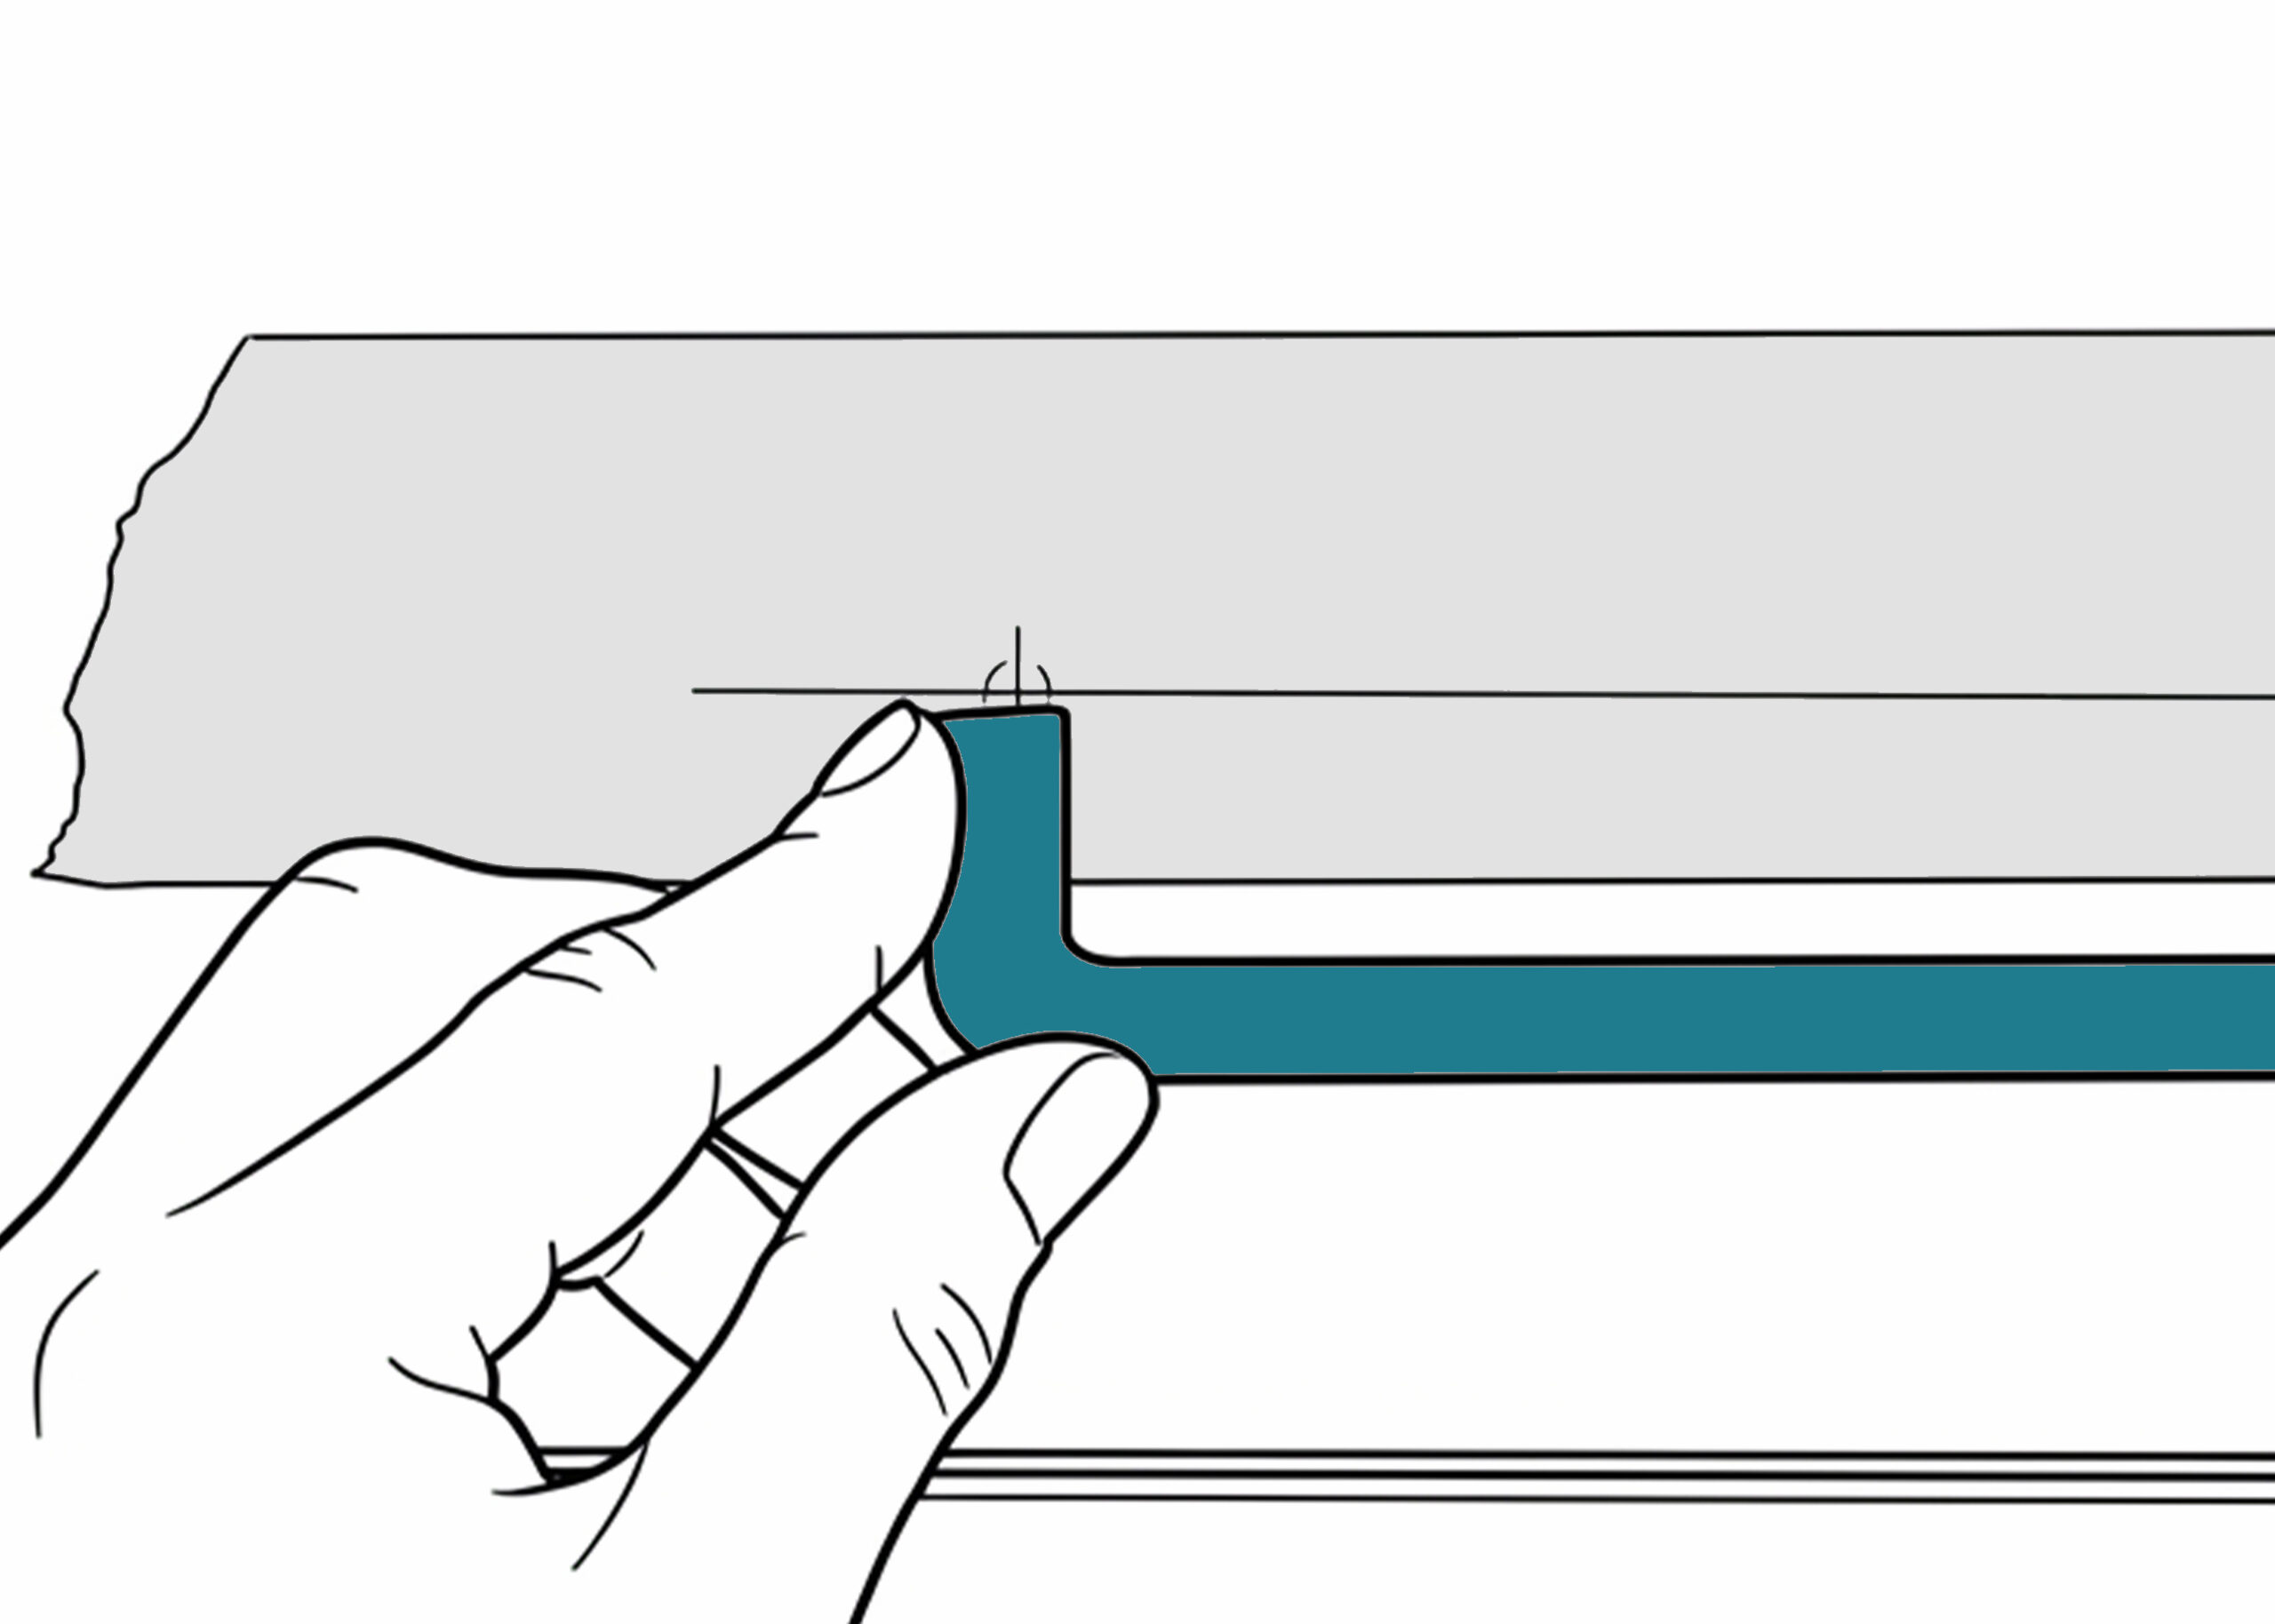
Step 4: Mark the First Hole
Measure up from the bottom edge (for base units) or down from the top edge (for wall units). Make a horizontal mark across your vertical line. The intersection of these two lines is the precise centre for your first screw hole.
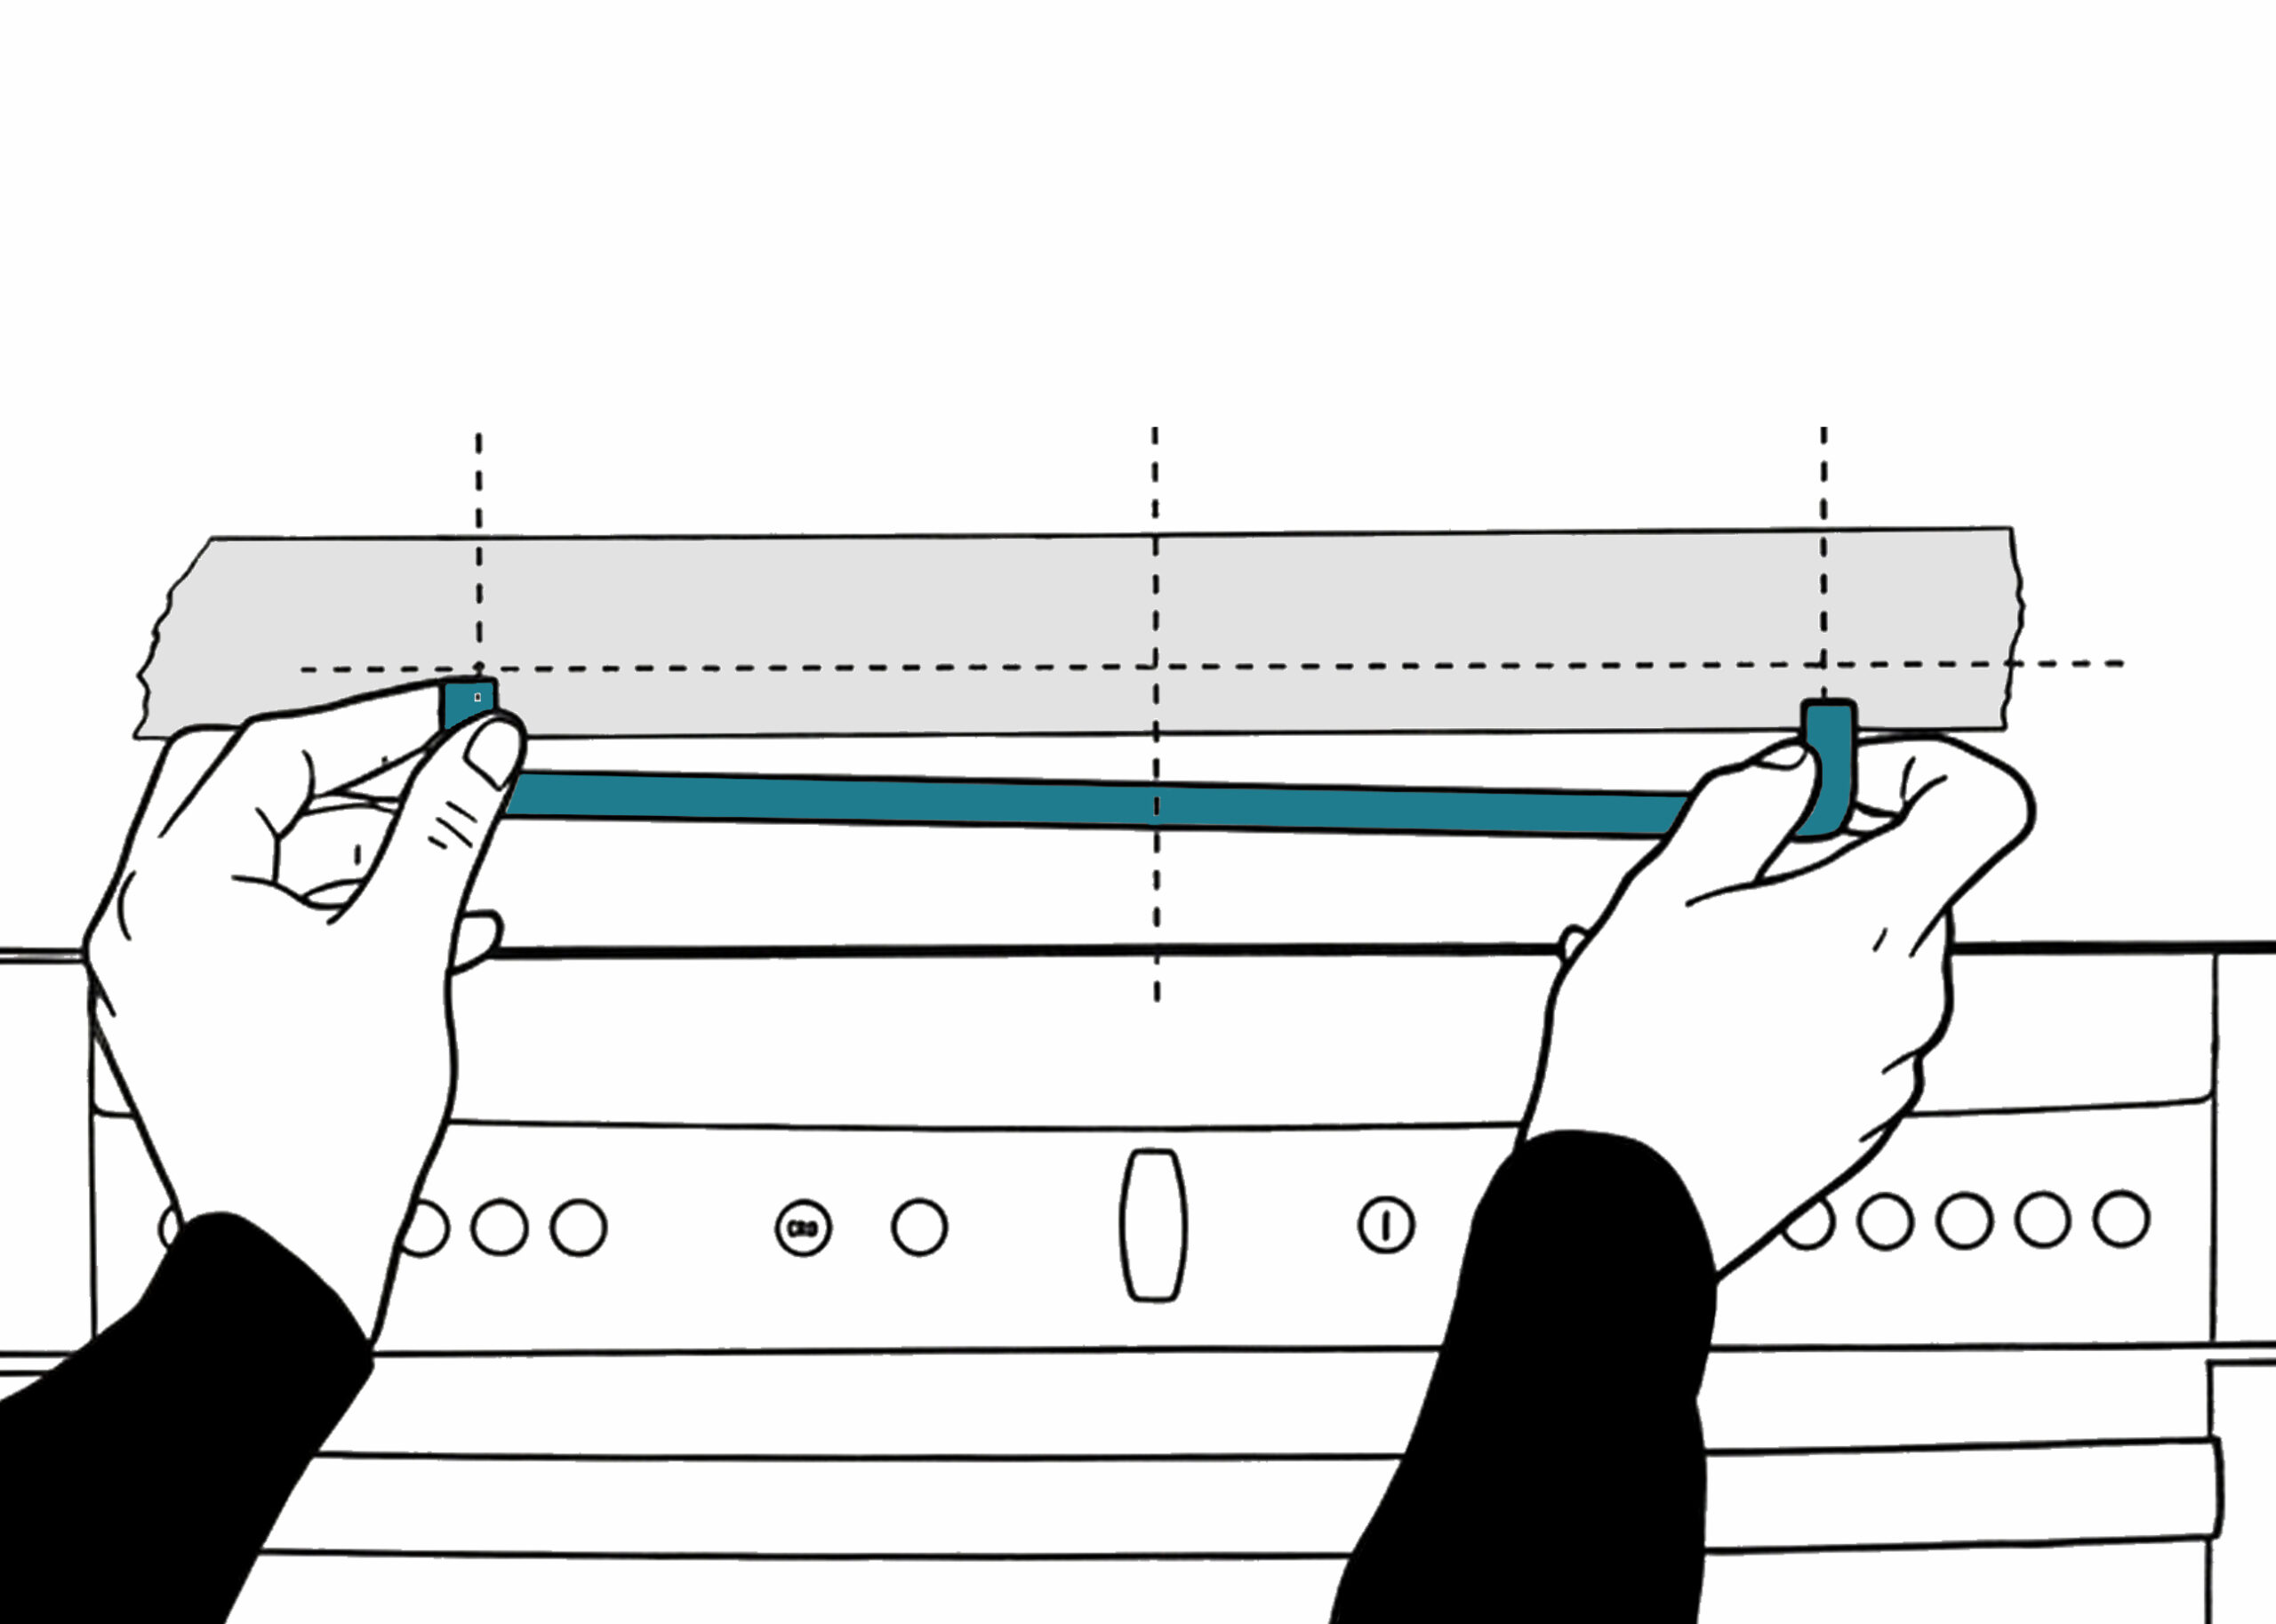
Step 5: Measure Handle Centres
Take your tape measure and check the distance between the centre of the two screw holes on the back of your new handle. Do not guess this measurement; even a millimetre difference can make installation difficult.
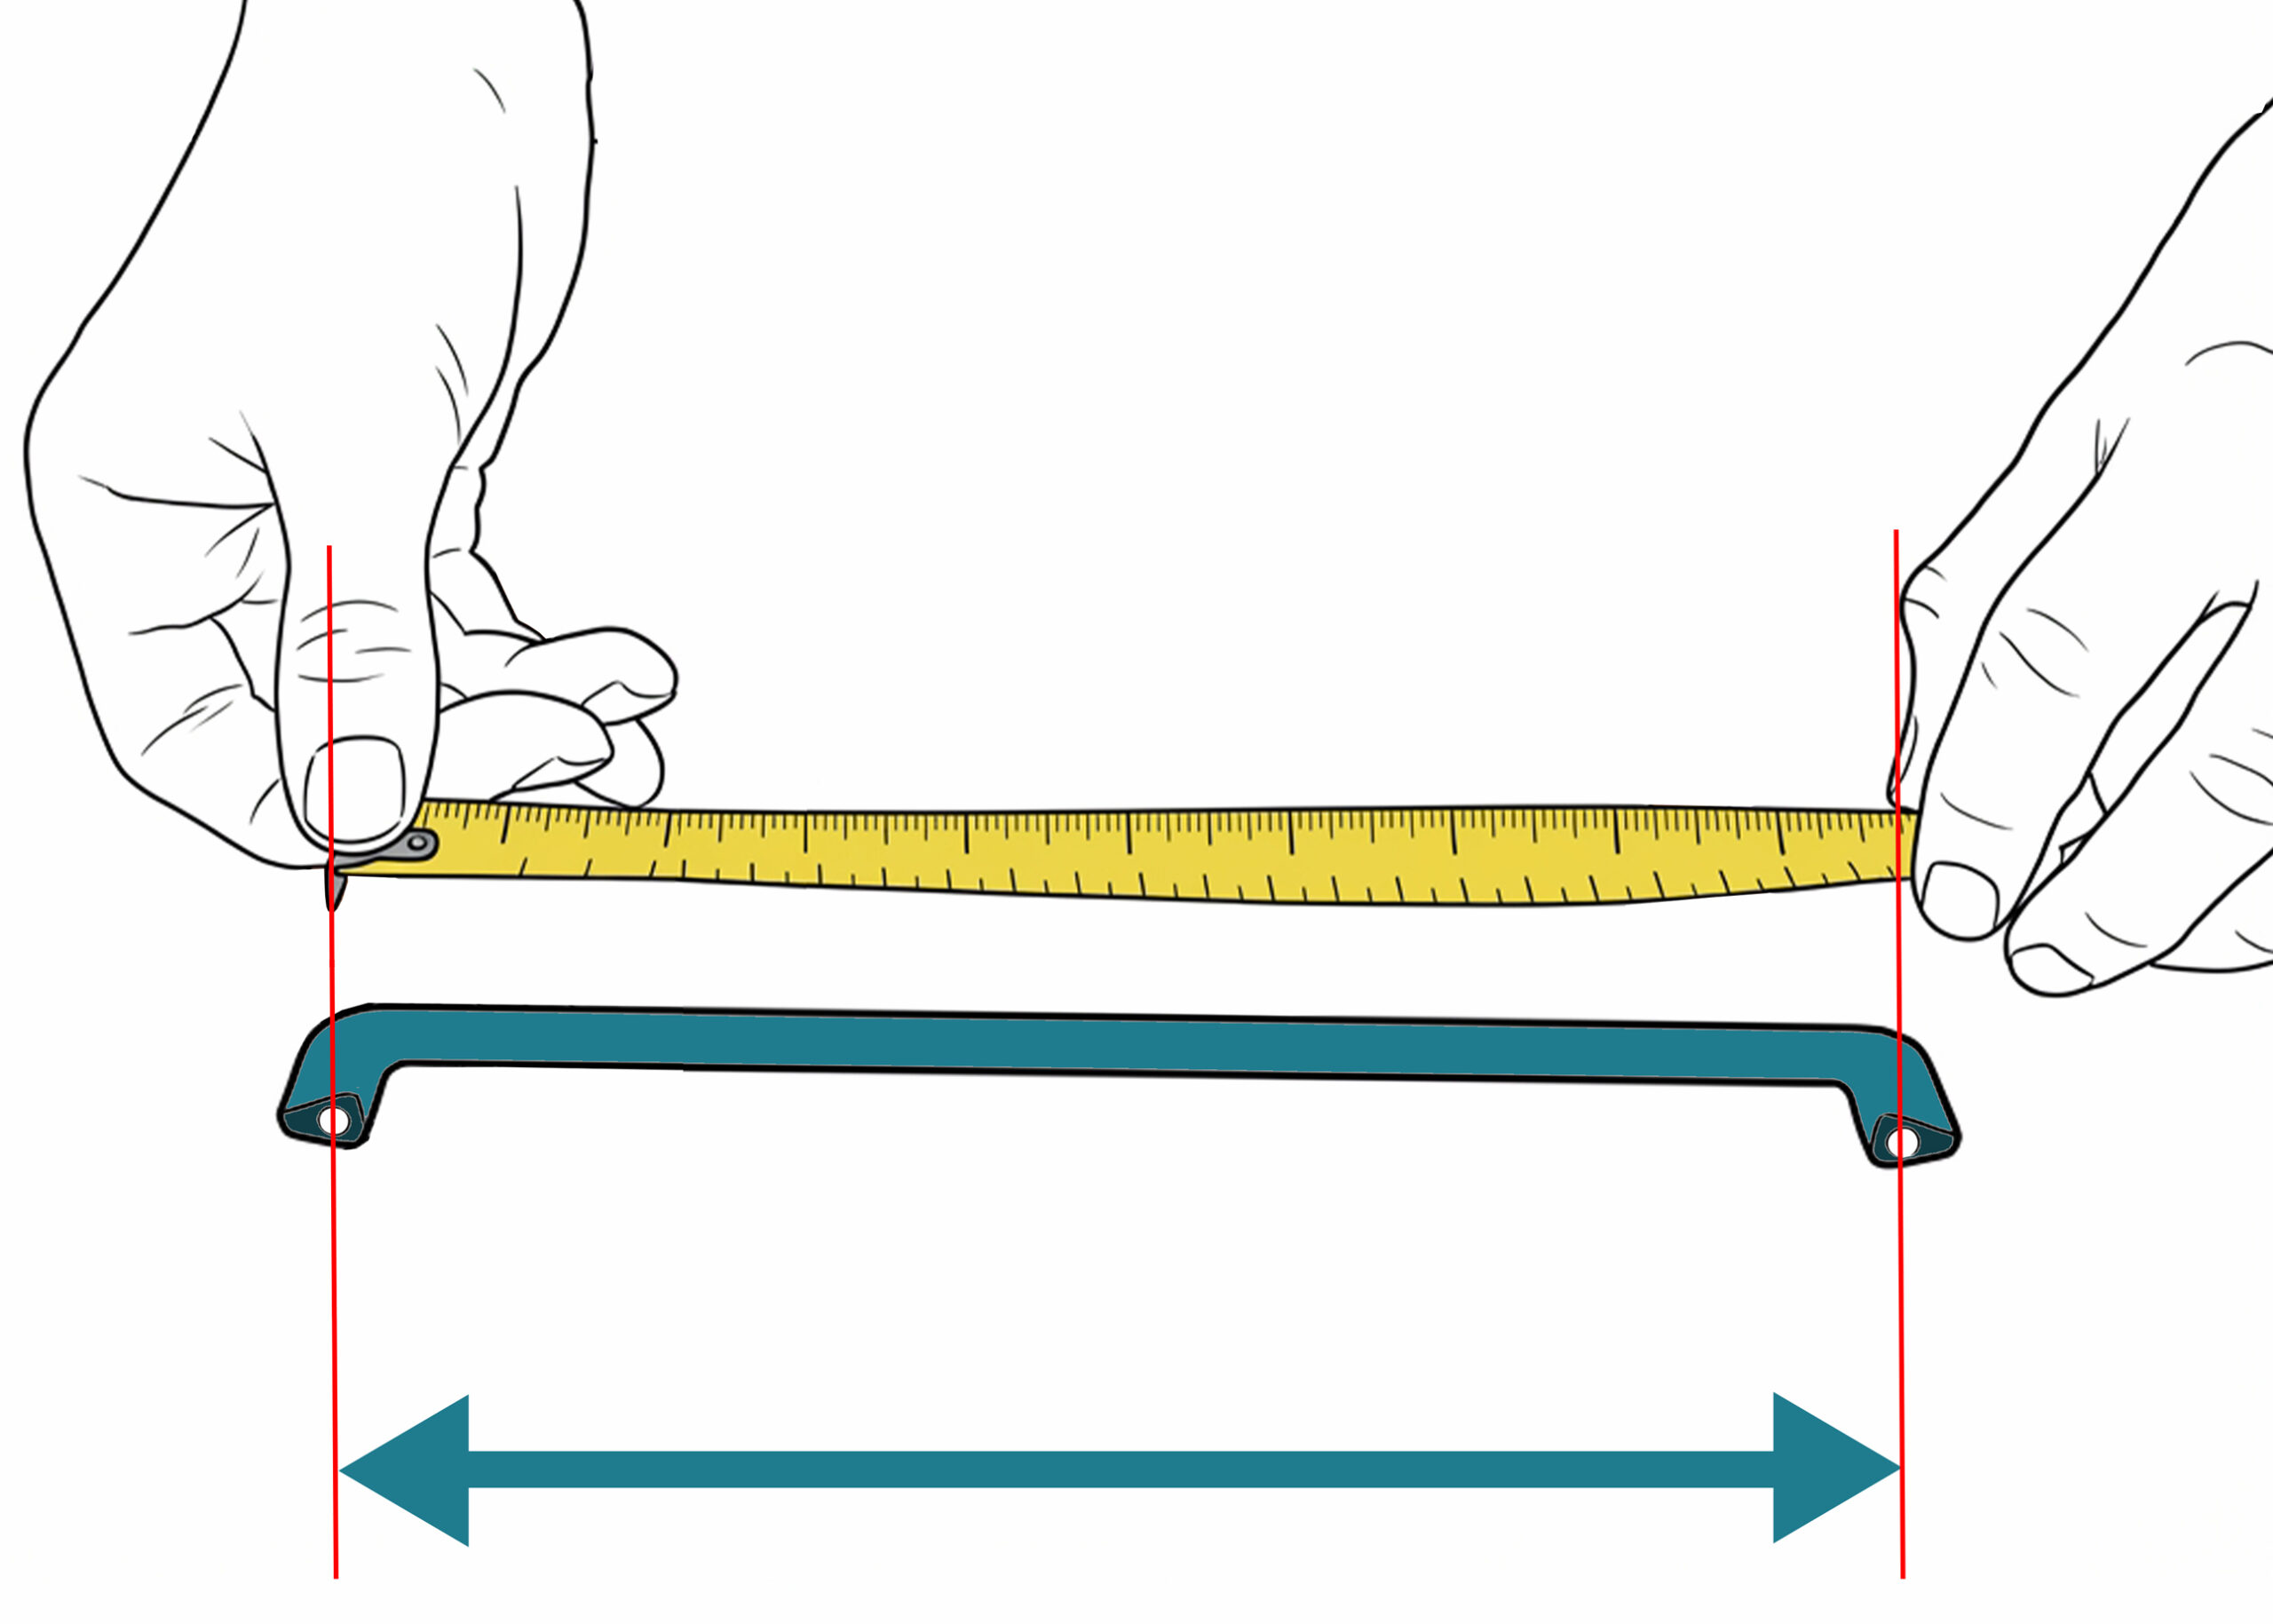
Step 6: Mark the Second Hole
Using the measurement you just took (e.g., 160mm), measure upwards from your first mark along the vertical line you drew earlier. Mark the position for the second hole. Double-check the distance between your two marks against the handle one last time.
Step 7: Drill the Holes
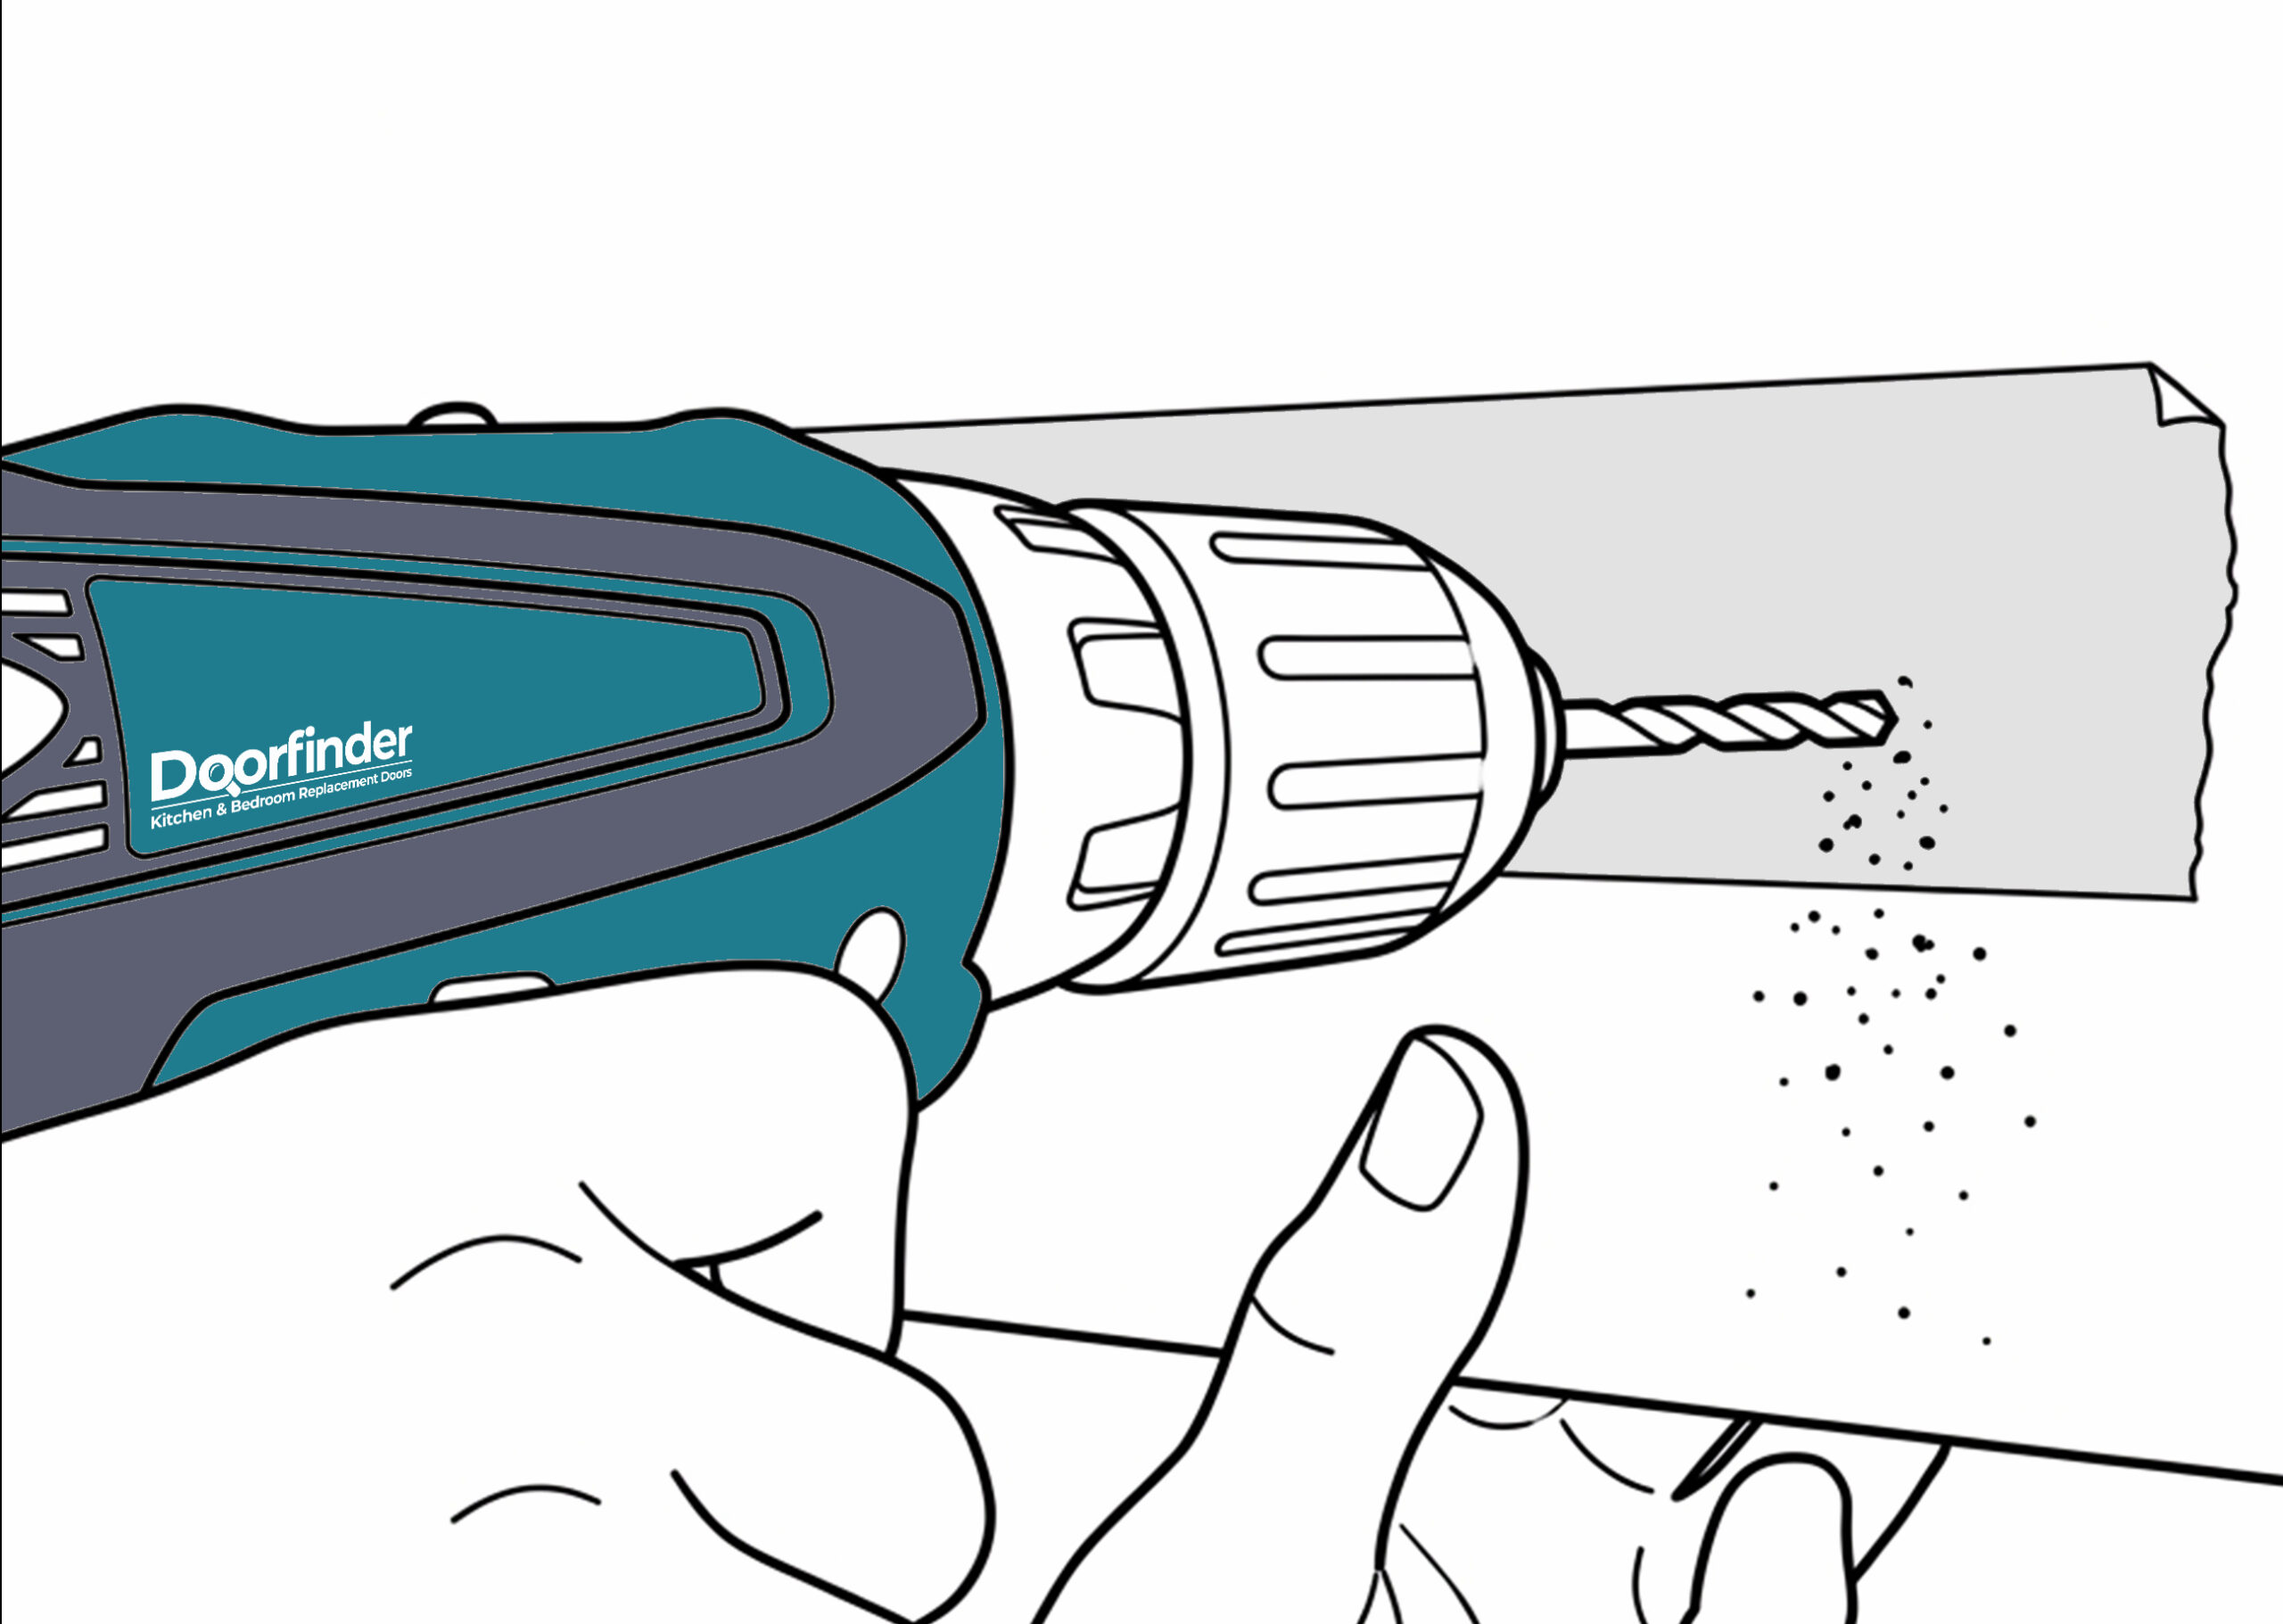
Using a drill with a sharp wood bit (typically 5mm), carefully drill through the marked points. Keep the drill level and apply steady pressure.
Pro tip: Place a scrap piece of wood behind the door to stop the drill from splintering the back surface as it exits.
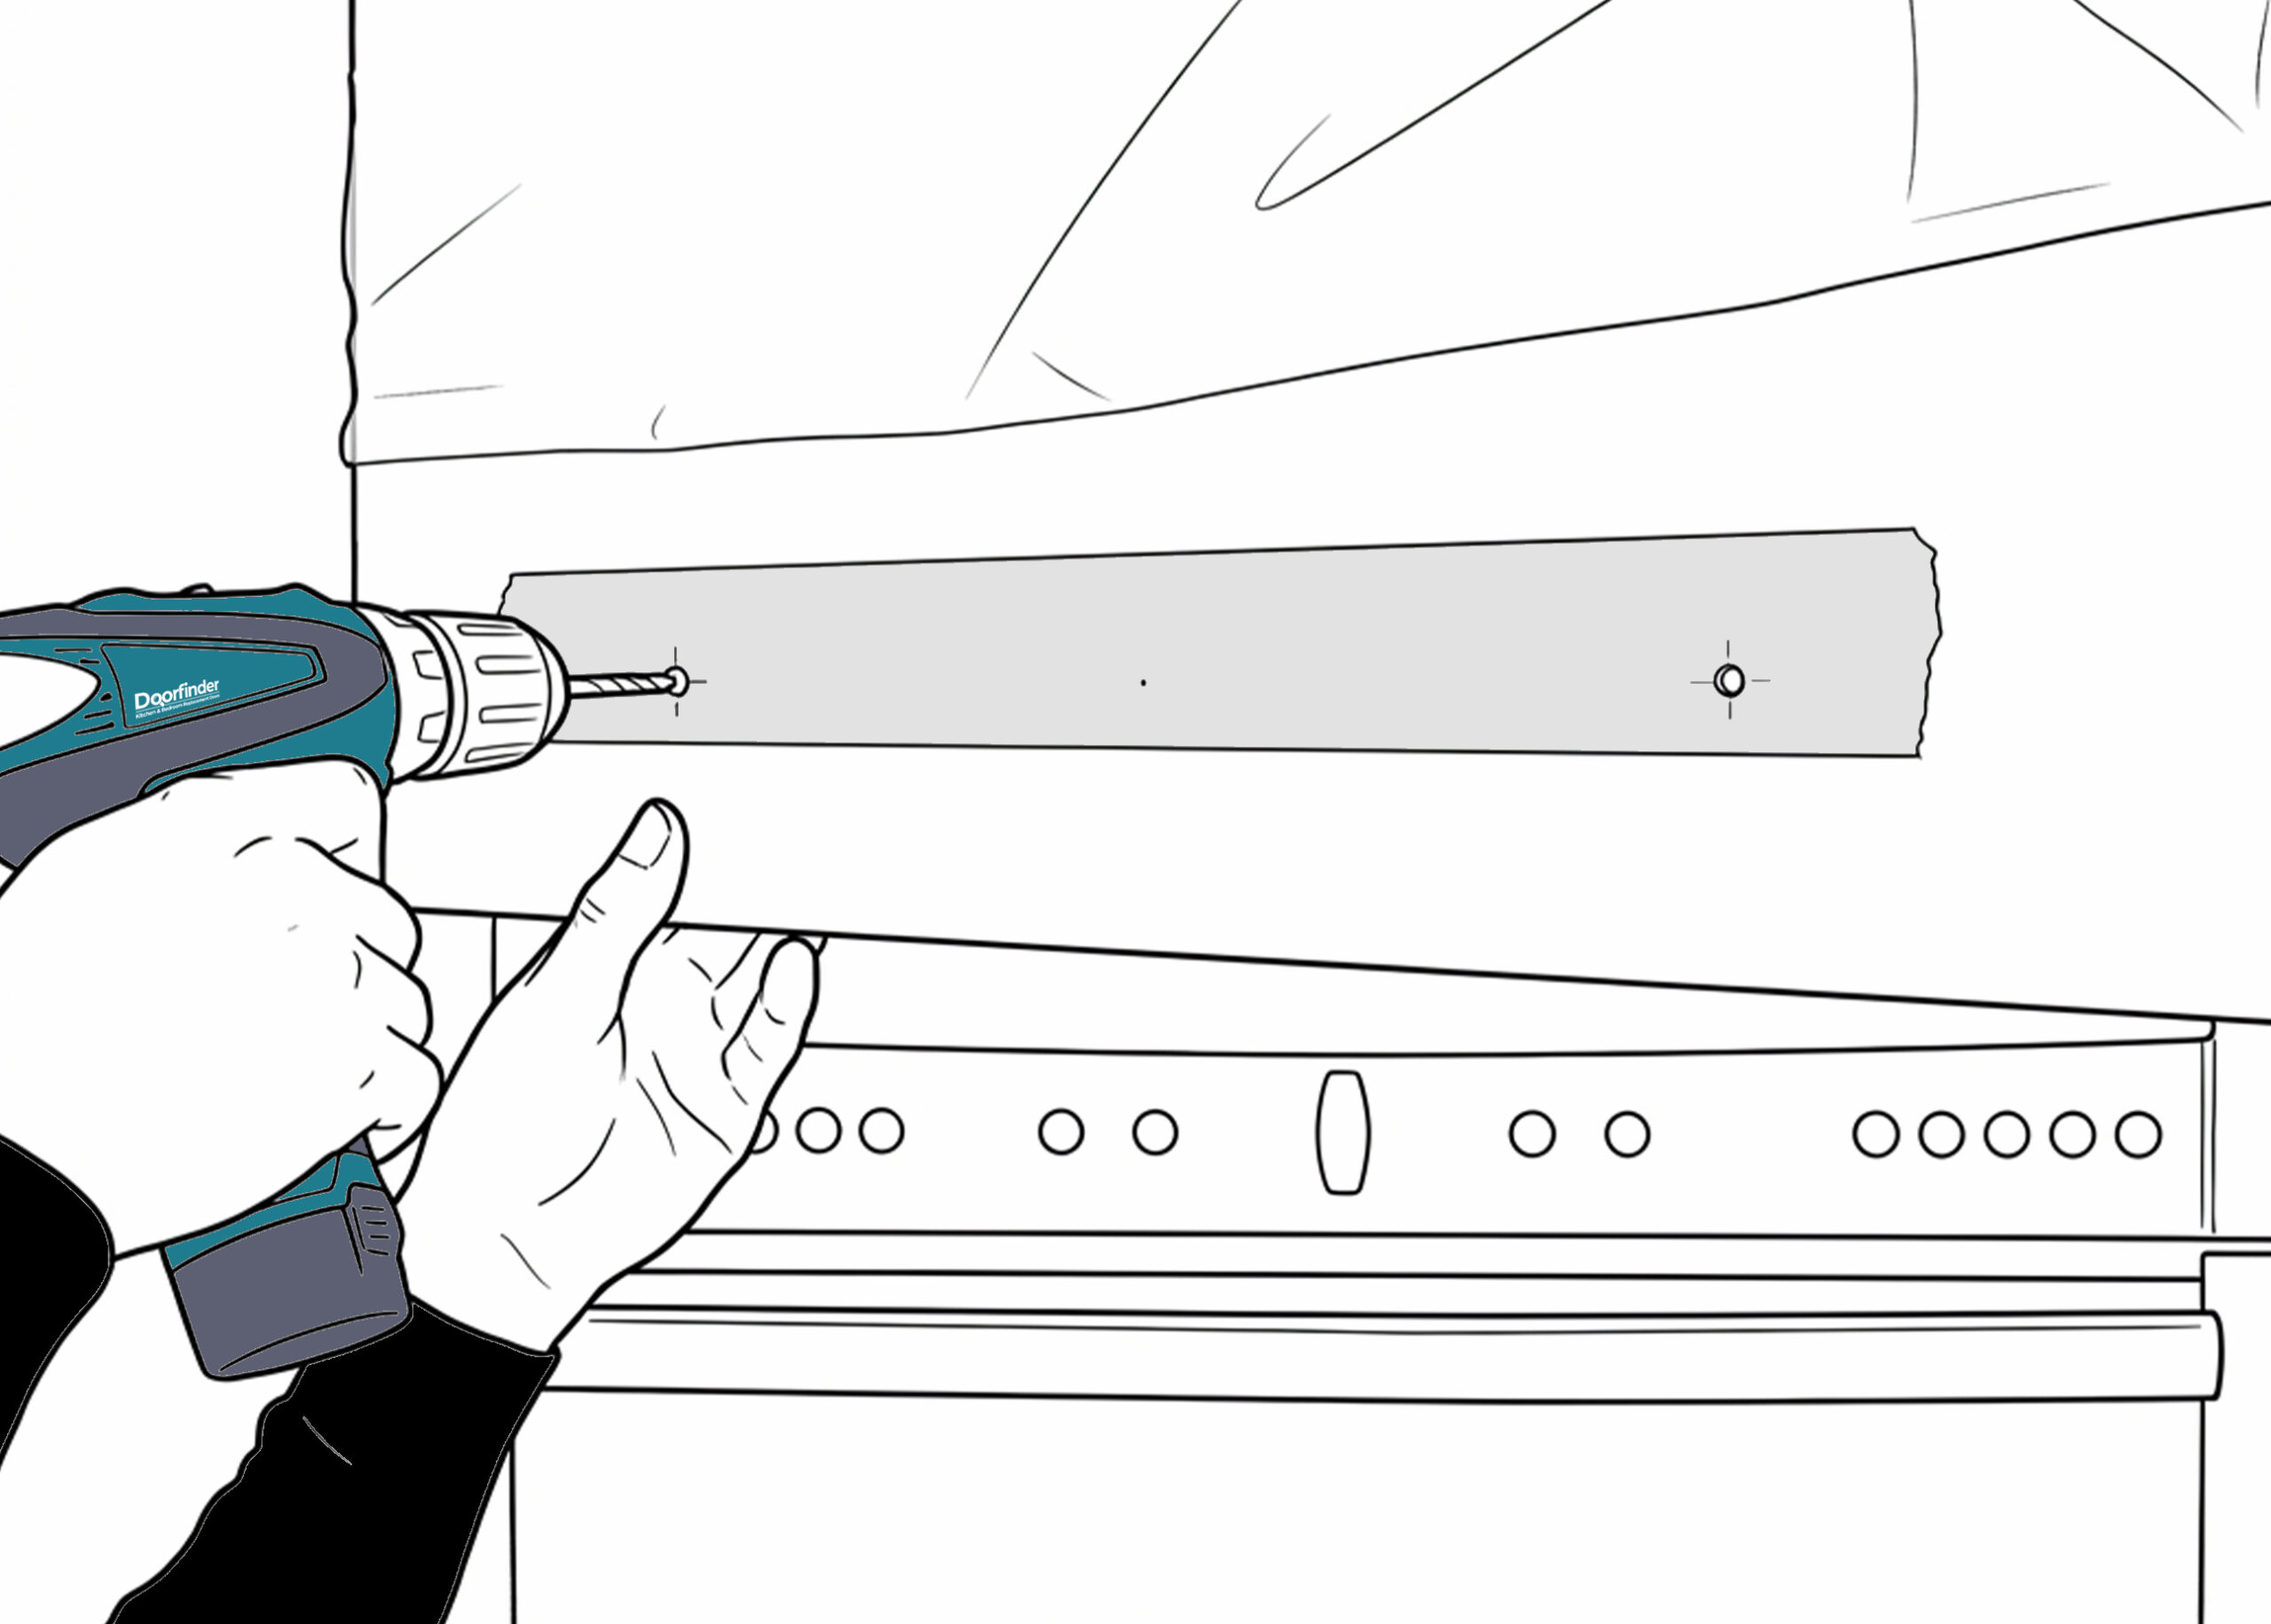
Drill the Holes
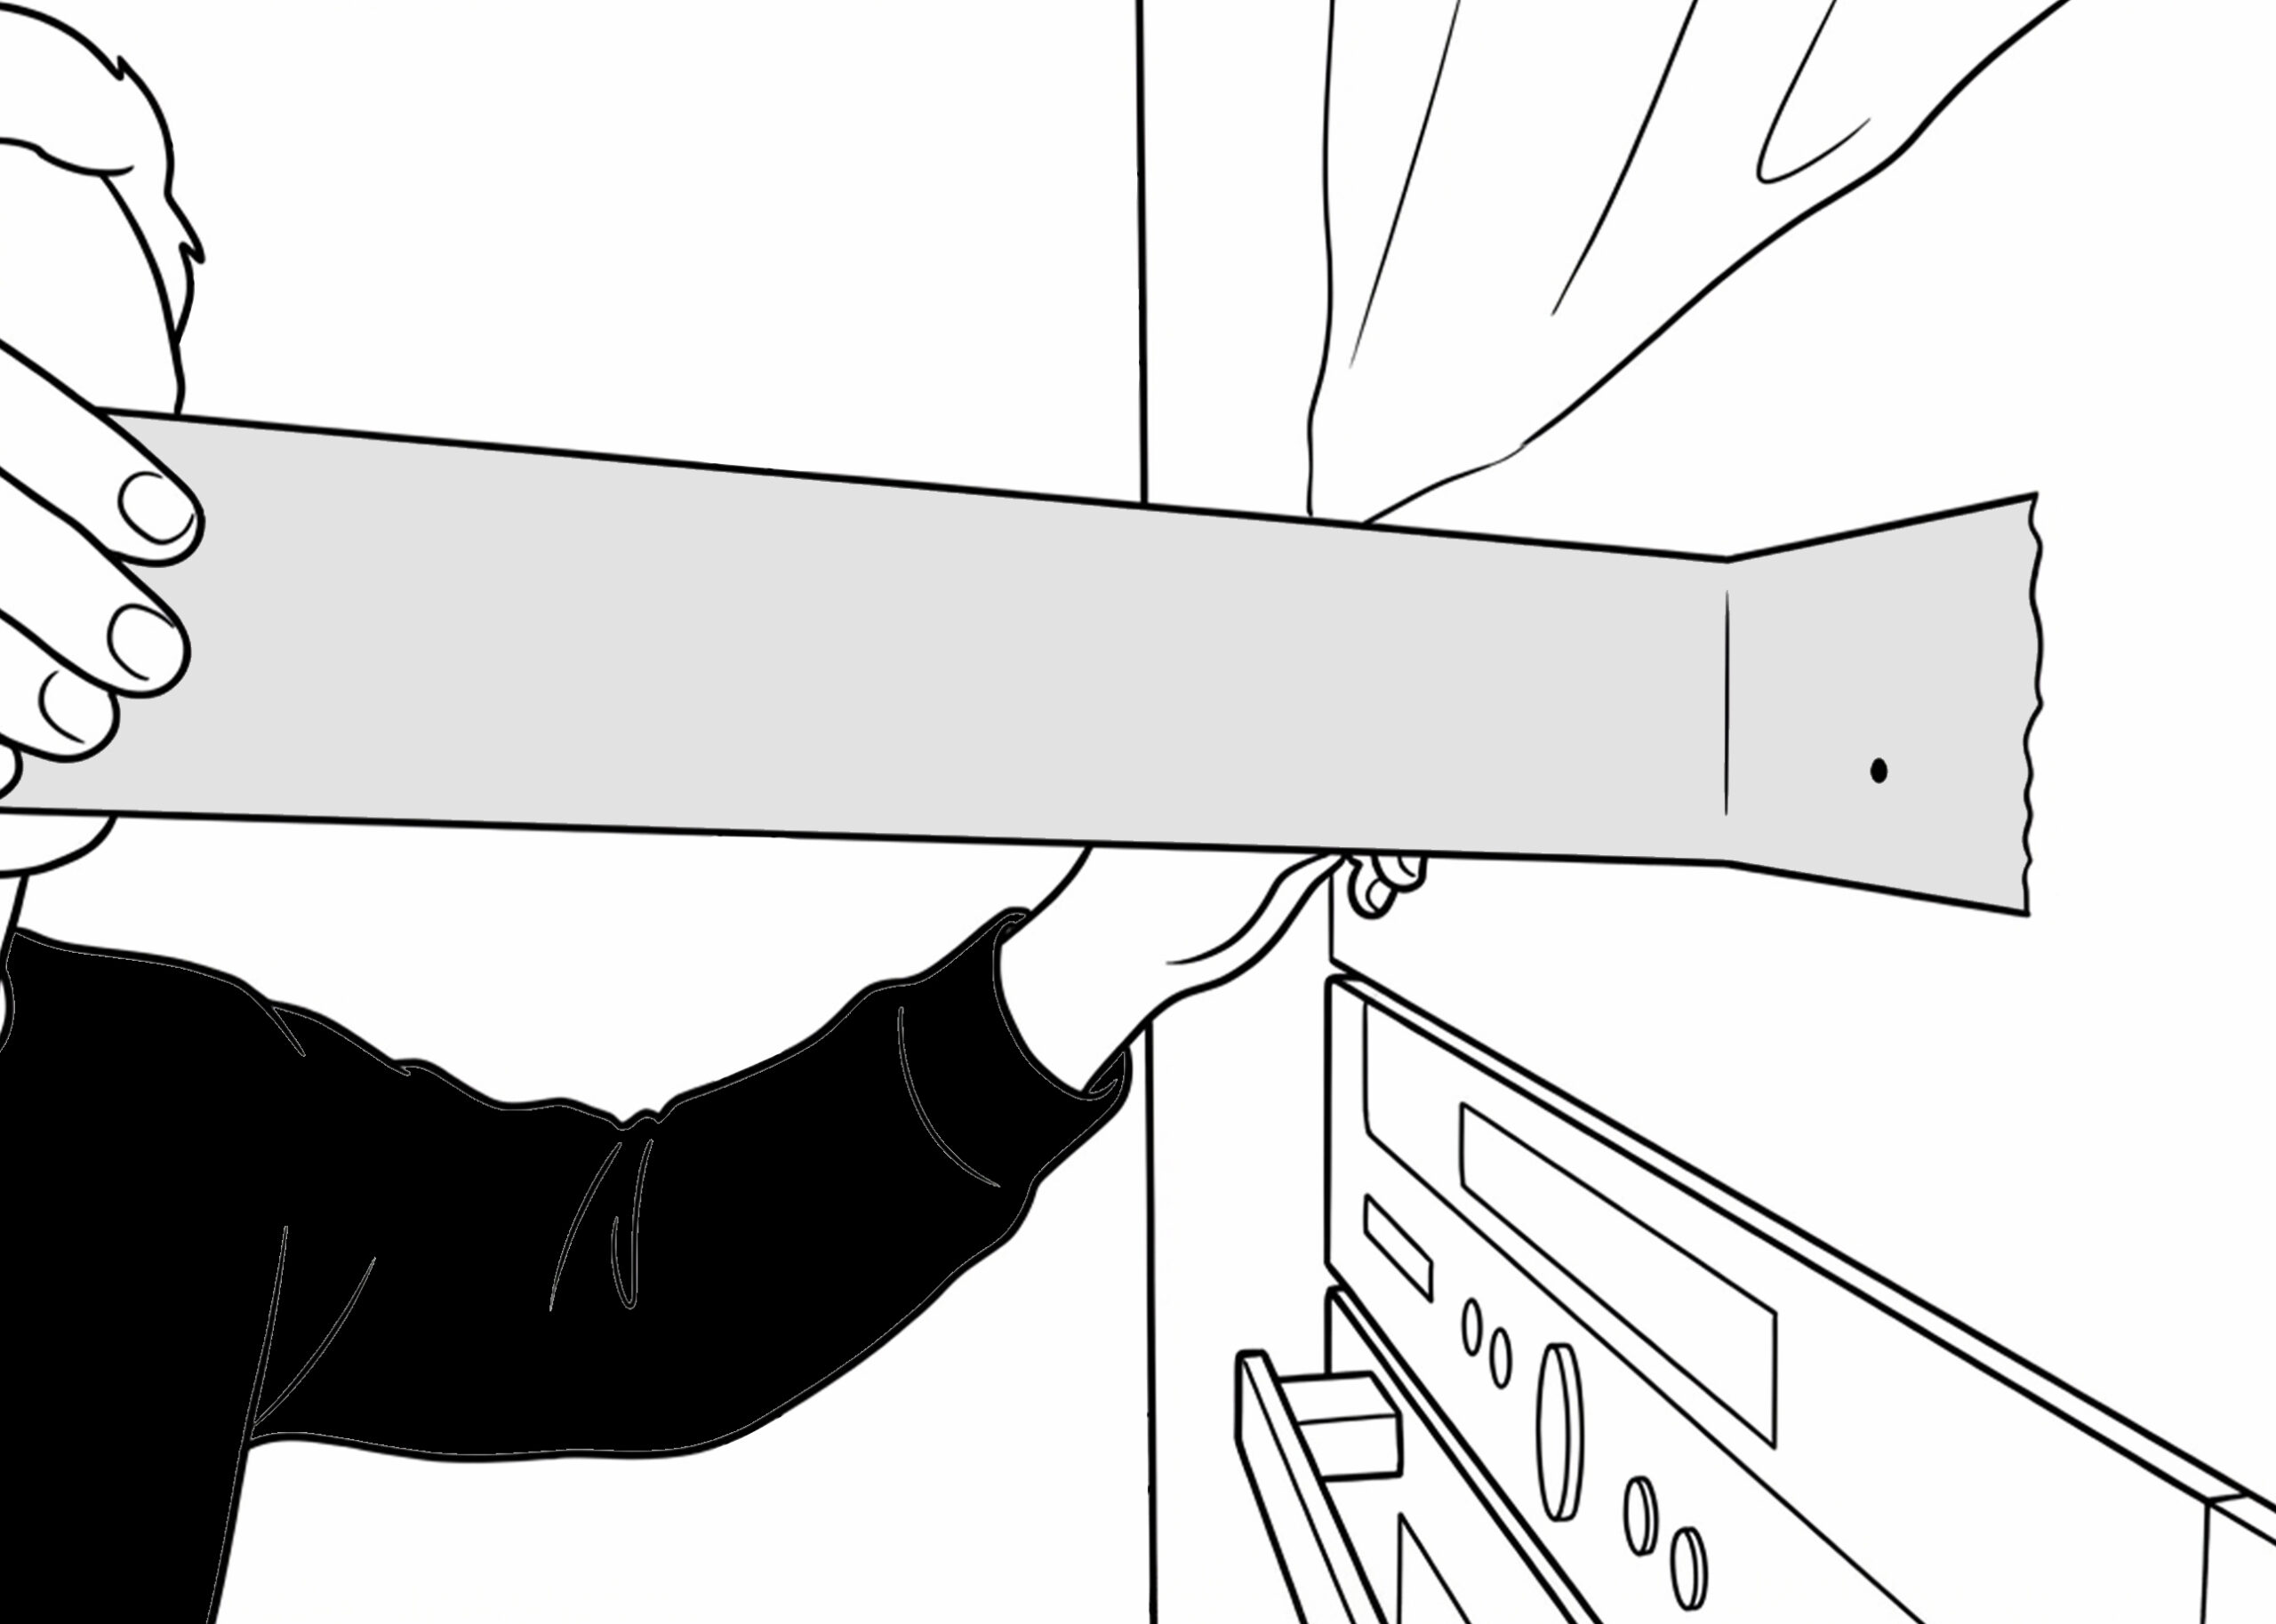
Step 8: Remove the Tape
Once the holes are drilled, carefully peel away the masking tape. Check the holes to ensure they are clean and free of dust. If there is any debris, wipe it away so the handle sits flush against the door face.
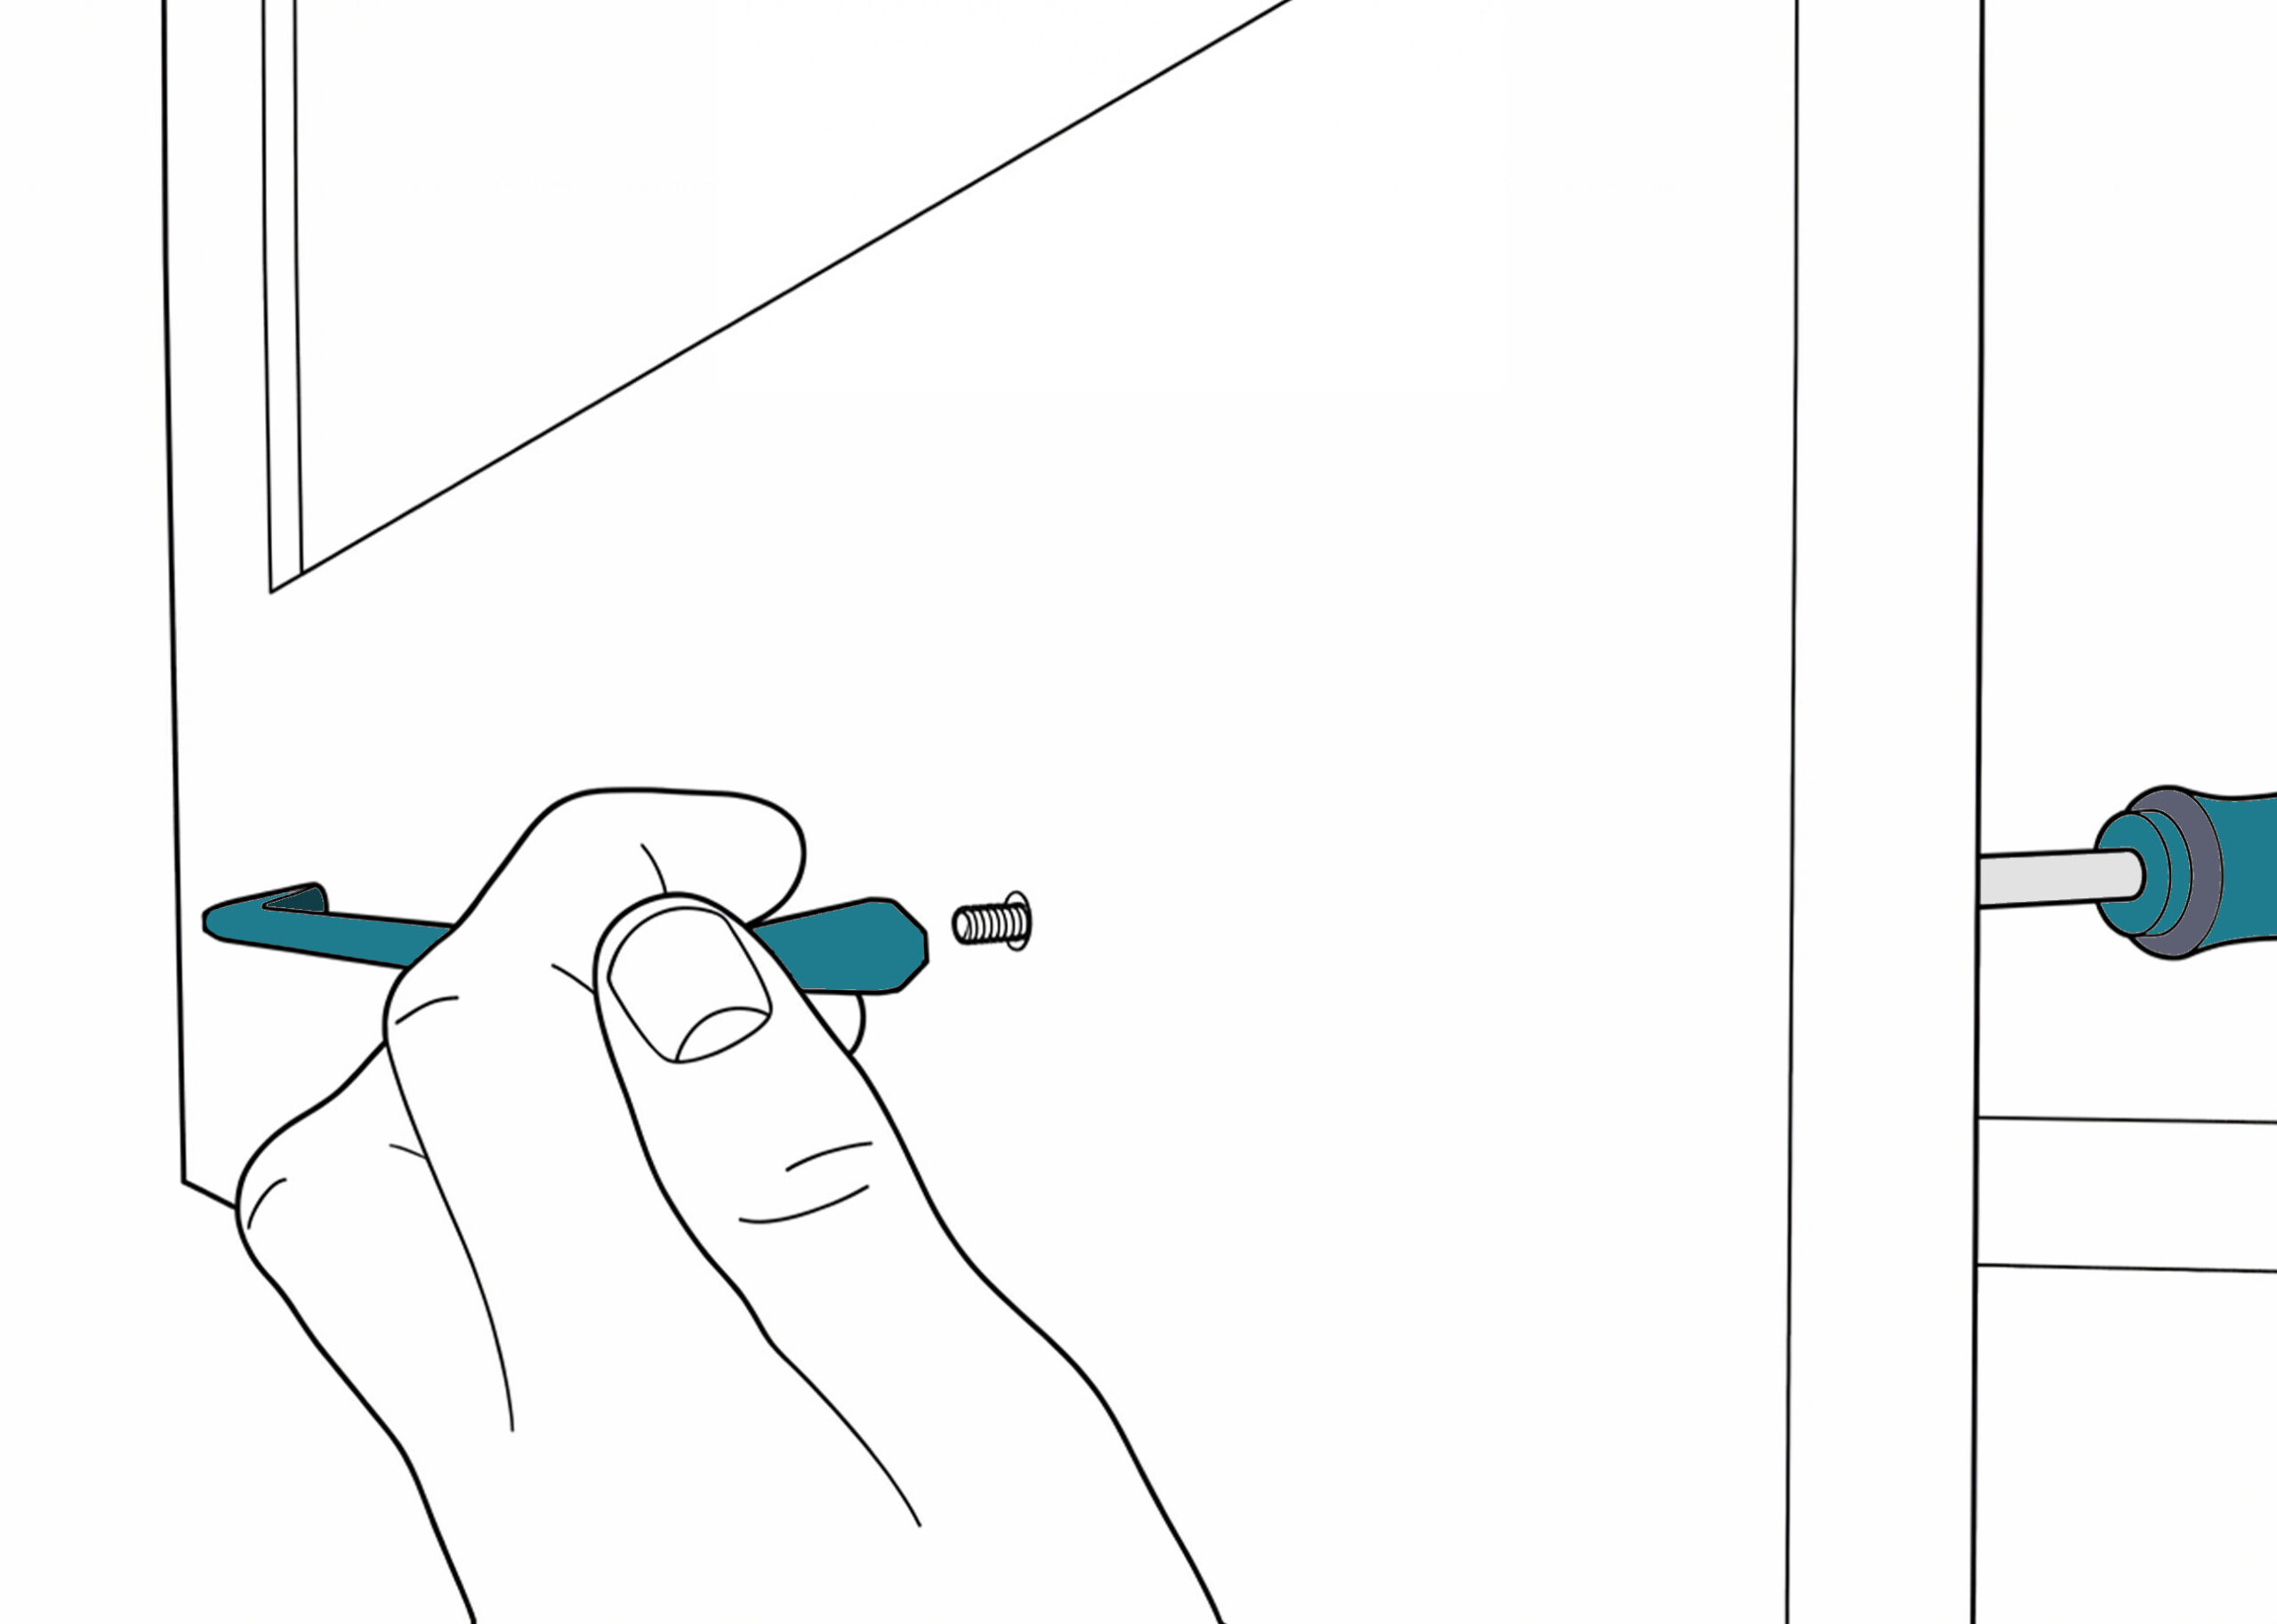
Step 9: Insert the Screws
Open the door or drawer. From the inside (back) of the door, push the handle screws through the holes you just drilled. They should poke through to the front just enough to catch the thread of the handle.
Step 10: Tighten and Finish
Line up your handle with the screws and tighten them using a manual screwdriver. Avoid using a power drill for this final step, as over-tightening can crack the door or strip the thread. Once tight, step back and admire your work!

Shop Kitchen Doors
Kitchen door replacement is fast becoming the no.1 choice in DIY home improvements. Our doors can be ordered to replace any standard sized units from all the top UK brands, including Ikea, Howdens, B&Q, Wickes, Magnet and Benchmarx can be fitted.
White Doors
Our most popular kitchen door colour
Made-to-Measure
Bespoke kitchen door sizes
High Gloss
High gloss kitchen doors
Matt
Matt kitchen doors
Handleless
Handleless kitchen doors
Shaker & Woodgrain
Shaker & Woodgrain kitchen doors
Replacement Kitchen Doors
Transform the look of your current kitchen
from £5.99
Plinths, Panels & Trims
Available in made to measure
from £13.99
Kitchen Accessories
Handles, hinges, drawers, inserts & more...
from 99p
Kitchen Units
Replacement Wall, Base & Tall units
from £43.70