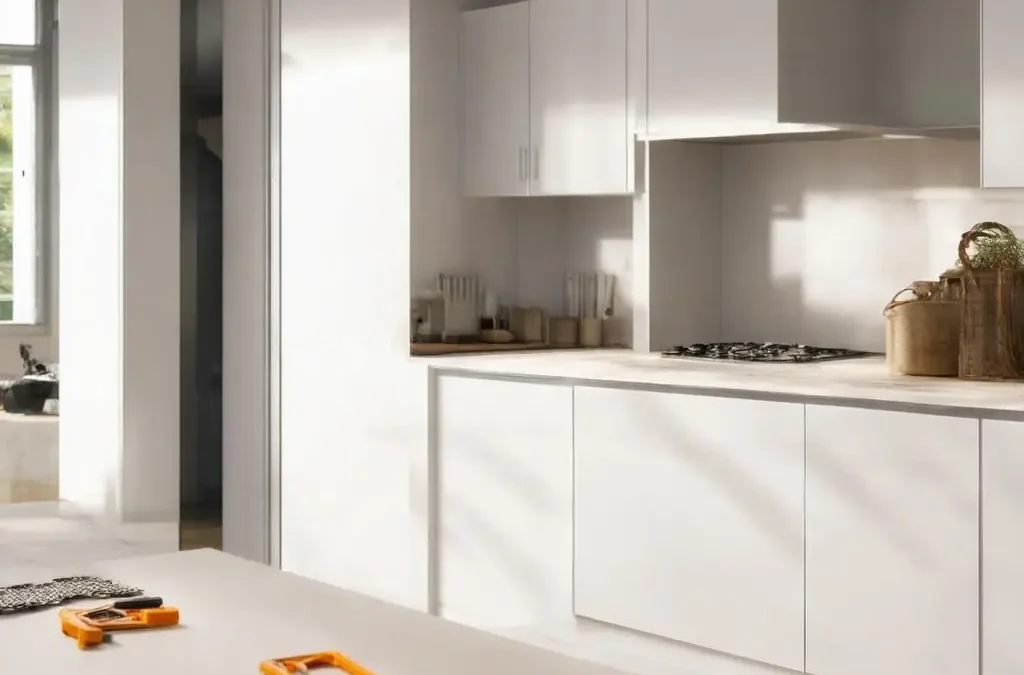
Refreshing a kitchen does not have to involve ripping out perfectly good cabinets or taking on weeks of disruption. In most homes, the visible wear is on the doors, drawer fronts and end panels, while the underlying carcasses remain sound. By replacing these visible elements and adding a few well‑chosen accessories, you can achieve a modern, cohesive look at a fraction of the cost and effort of a full refit.
Doorfinder specialises in precisely this kind of transformation. With a wide range of styles and finishes—high gloss doors starting at £10.06, sleek handleless doors from £13.01, durable matt doors from £11.65, and classic shaker doors from £21.94—you can tailor your kitchen to your taste and budget. To complete the look, Doorfinder offers matching panels, kitchen units, handles, hinges and smart storage solutions, as well as wardrobe doors from £14.27 for those looking to coordinate adjoining spaces.
The value proposition is compelling:
- Lowest price guarantee, so you can buy with confidence.
- Expert advice to help you choose correctly and fit with ease.
- Free delivery across the UK mainland, helping you keep costs down.
- 24/7 online service, backed by a London head office for accessibility and trust.
This guide walks you through planning, measuring, ordering and installing replacement doors and panels—plus the small upgrades that make a big difference—so your project runs smoothly from start to finish.
Plan Your New Look: Styles, Finishes and Components
Before you pick up a screwdriver, take a moment to define the end result you want. The most successful kitchen makeovers start with clear decisions about style, scope and compatibility with your existing units.
Style and finish
- Contemporary shine: High gloss doors bounce light around, making smaller spaces feel larger. They pair well with handleless designs for a minimalist finish.
- Modern and practical: Matt doors offer a refined look and are forgiving with fingerprints—ideal for busy households.
- Timeless warmth: Shaker doors provide texture and visual interest, suiting both classic and modern homes depending on handle choice and worktop pairing.
Colour considerations
- Neutral palettes (white, cashmere, light grey) create an airy canvas and work with most worktops and floors.
- Bold accents (navy, graphite, forest green) can be used on an island or base run to anchor the space without overwhelming it.
- If your worktops are staying, select door colours that complement rather than compete with their tones.
Components to include
- Doors and drawer fronts: The core of the facelift. Ensure a consistent style across all visible faces.
- End panels and decorative panels: Vital for finishing cabinet sides and peninsulas; they provide a colour‑matched, professional finish.
- Plinths (kickboards), cornice and pelmet: These unify the look and hide functional gaps. Matching trims are the hallmark of a considered makeover.
- Handles and hinges: New handles can completely change the character. Soft‑close hinges and drawer runners add a quality feel.
- Storage upgrades: Consider pull‑out larders, corner carousels, pan drawers and internal organisers to enhance everyday use.
Scope and budget
- Whole‑kitchen refresh: Replace all doors, drawer fronts, end panels and trims for a uniform result.
- Phased approach: Start with the most visible run or island, then expand. This can spread costs while still delivering impact.
- Light‑touch update: New handles, soft‑close hinges and a fresh plinth can smarten a space even before you swap doors.
Tip: Order sample swatches to see colours and finishes in your light. This small step avoids costly returns and ensures the final look meets expectations.
Measure Once, Order Right: A Step‑by‑Step Checklist
Accurate measurements are the foundation of a hassle‑free installation. Work methodically and take notes. If in doubt, Doorfinder’s expert advice is available to review your plan before you order.
What you will need
- Tape measure (metric), pencil and notebook (or a spreadsheet)
- Screwdriver set and pozi bits
- Spirit level and square
- Masking tape for labelling doors
- Optional: a handle drilling jig for perfect alignment
How to measure doors and drawers
- Record every item: Create a list by cabinet, e.g., “Base unit left of oven – 1 door,” “Sink unit – 2 doors,” “400 mm drawer,” etc.
- Measure existing fronts: Measure height and width of each door and drawer front in millimetres. Do not assume symmetry; some runs include mixed sizes.
- Note swing and pairs: For pairs of doors on a single cabinet, record left‑hand and right‑hand swings.
- Check hinge positions: Measure from the top edge of the door to the centre of each hinge cup, and from the bottom edge to the centre of the lower cup. Note the distance from the door edge to the cup centre as well. Keep these measurements for drilling or verification.
- Count hinges: Wider or taller doors often use three hinges; make sure you order enough.
- End panels and trims: Measure the visible height and width. If floors or walls are uneven, allow extra for scribing and trimming to fit.
- Plinths: Measure the run lengths and standard height required for your cabinetry (often around 150 mm, but confirm).
- Handles: Decide spacing and orientation (vertical or horizontal). If reusing handle holes, confirm their centres. If starting fresh, plan consistent spacing for a tidy look.
Practical ordering tips
- Consider ordering one door first to verify fit and hinge positions, then place the full order.
- Standard sizes often deliver the best value. If your layout allows, adapt the hinge plate positions rather than chasing unusual dimensions.
- Order a few spare handles and a length of extra plinth or edging; they are useful if you make a late change or a cut goes wrong.
- Consolidate your basket to take advantage of Doorfinder’s free UK mainland delivery and lowest price guarantee.
Before you proceed, inspect your carcasses. If cabinets are sound—no swelling, delamination or structural movement—you are a perfect candidate for a door swap. If you spot localised issues, they can often be repaired or reinforced without changing your plan.
Fit with Confidence: The Installation Guide
Safety first
- Wear eye protection when drilling or cutting.
- Turn off power at the consumer unit before working near sockets, under‑cabinet lighting or appliances.
- Use two people for long doors, end panels and plinths to avoid damage.
Removal and preparation
- Label each existing door with masking tape (location and swing). This record helps during fitting.
- Remove handles and set aside fixings you intend to reuse.
- Support the door, then unscrew hinge arms from the plates on the carcass. Keep screws in labelled pots.
- Check and tighten carcass fixings; square up units if needed for straighter lines later.
- Clean cabinet faces so new components sit flush and true.
Hinges and plates
- If your new doors are pre‑drilled for 35 mm hinge cups, fit the hinges to the doors first. If not, use a hinge jig for accurate drilling or arrange pre‑drilling when you order.
- Fit new mounting plates to the cabinet sides. Use existing holes if they align and are in good condition, or reposition for the best door reveal.
Hanging doors
- Clip the door hinges onto the mounting plates.
- Close the door and assess the gaps (reveals) top, bottom and sides.
- Use the hinge’s three‑way adjustments to align: one screw moves the door in/out, another left/right, and a third up/down via the plate slots.
- Work methodically along a run, setting even reveals and level lines. A long spirit level laid across door tops helps achieve a clean datum.
Drawer fronts
- Attach fronts to drawer boxes loosely, align to the doors beside them, then tighten fixings.
- Fit soft‑close runners if upgrading; they improve feel and protect fronts from slamming.
End panels and decor
- Measure and cut end panels to length. If walls or floors are out, scribe the panel to the surface for a tight fit.
- Fix from the inside of the cabinet using screws placed where they will not show, or use suitable adhesive in addition to mechanical fixings for a robust bond.
- Fit cornice and pelmet to wall units to finish the top and bottom edges, mitring corners for neat joints.
- Cut plinths to length, allowing for returns at exposed ends. Clip or screw in place for easy future access.
Handles and finishing touches
- Mark handle positions consistently across all fronts. A drilling jig speeds the process and reduces errors.
- De‑burr drilled holes and use the supplied fixings for a secure, clean fit.
- Add door buffers and check all soft‑close mechanisms engage properly.
Final checks
- Open every door and drawer to ensure full, unobstructed travel and no collisions at corners.
- Wipe down with a soft, slightly damp cloth to remove dust.
- Stand back, check sight lines and make any final hinge tweaks for perfection.
Finishing Touches, Care and Cost‑Saving Tips
Enhancements that elevate the result
- Storage: Add pull‑out baskets, recycling sorters and corner solutions to maximise capacity and convenience without changing the layout.
- Lighting: Under‑cabinet lighting brightens worktops and highlights your new doors and pelmets.
- Matching details: Coordinated end panels, plinths and trims are the difference between “replaced doors” and a “new kitchen” look.
Care and maintenance
- Cleaning: Use a soft cloth with mild soapy water. Avoid abrasive pads and harsh chemicals that may dull finishes.
- Hinges: Retighten hinge and handle screws after a few weeks as the hardware beds in. Minor adjustments keep reveals tidy over time.
- Environment: Keep areas around kettles and hobs well ventilated to reduce steam build‑up on doors and panels.
Ways to keep costs low without compromising quality
- Reuse where sensible: Retain sound carcasses and, if compatible, existing hinge plates. Upgrade only what delivers visible or functional benefit.
- Choose finishes strategically: Matt fronts disguise daily use; handleless designs can reduce the number of separate components you need to buy.
- Standardise: Where possible, use standard door sizes and consistent handles throughout to streamline ordering and reduce waste.
- Plan once, buy once: Group your purchase to benefit from Doorfinder’s free UK mainland delivery and lowest price guarantee.
- Test before you commit: A sample swatch or a single trial door ensures colour, sheen and hinge positions meet your expectations.
Support when you need it
- Doorfinder’s expert team can advise on measuring, hinge compatibility and installation approach, helping you avoid common pitfalls.
- With an around‑the‑clock online service and a London head office, help is at hand however you prefer to shop and whenever you plan your project.
A kitchen facelift can be completed in a weekend with basic tools and careful planning. By focusing on the components you see and touch every day—doors, panels, trims and handles—you gain a fresh, modern space without the cost or disruption of a full renovation. With high‑quality products at unbeatable prices, backed by expert advice and free UK mainland delivery, Doorfinder makes a professional‑looking DIY transformation both achievable and affordable.