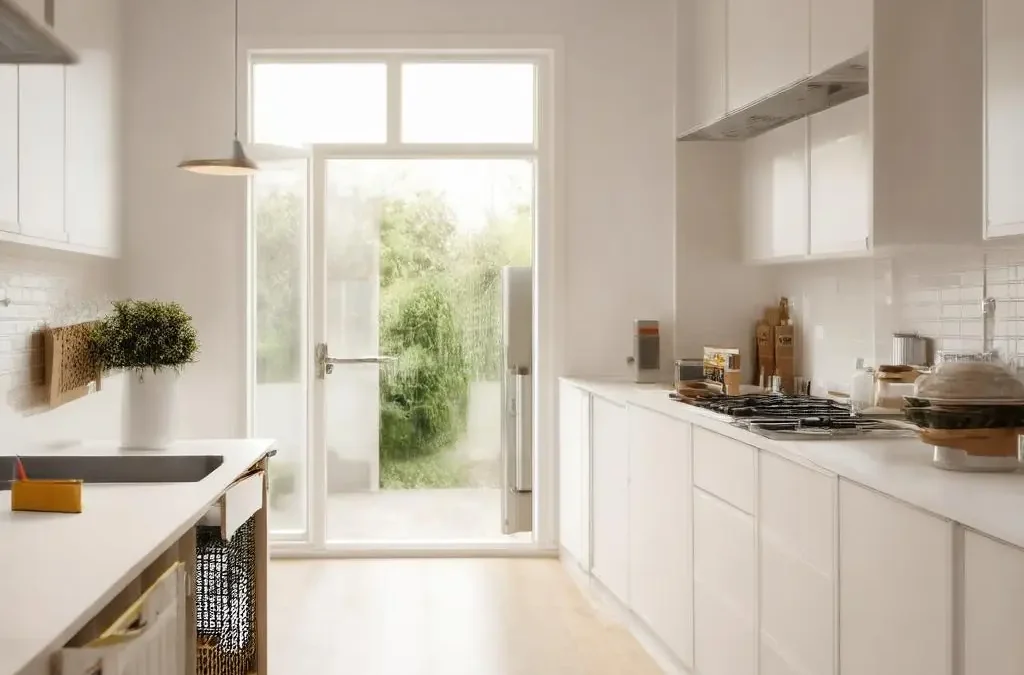
Recent reports point to a rise in failed DIY renovations as homeowners chase dramatic, time‑lapse transformations from TV and social media. The common pattern is familiar: ambitious scope, optimistic timelines, underestimated skills, and hidden compliance issues. The result can be stalled projects, spiralling costs, and disappointing finishes.
There is a better route. Rather than ripping out serviceable cabinets and wardrobes, focus on “swap‑not‑strip” upgrades that replace what you see and touch every day—doors, end panels, plinths, handles, hinges, and simple storage add‑ons. These low‑risk changes deliver a high‑impact refresh without disturbing electrics, plumbing, or structure.
Doorfinder specialises in precisely this approach. You can update kitchens and bedrooms with:
- Replacement kitchen doors (high gloss from £10.06, matt from £11.65, handleless from £13.01, shaker from £21.94)
- Wardrobe doors from £14.27
- Matching end panels and plinths for a built‑in look
- Accessories including handles, hinges, and storage solutions
With a lowest price guarantee, expert advice, and free delivery across the UK mainland, you can keep costs predictable while improving quality.
Why DIY projects fail—and how to avoid it:
- Unrealistic timelines and budgets: TV edits compress days into minutes. Build in buffers and contingency.
- Underestimating skill/tool needs: A drill, level, and patience go a long way, but some tasks demand more than enthusiasm.
- Ignoring building regulations: Any work on gas and fixed electrics is regulated. Do not touch these unless you are qualified.
- Poor measuring and planning: Ordering a door 2 mm too tall is enough to stall the job. Measure twice, order once.
The takeaway is simple: keep sound carcasses, change the fronts, and upgrade fittings. You will achieve a modern, durable result at a fraction of the cost and disruption of a full renovation.
Choosing the right upgrade path for your space, budget, and skill level
Start with condition and scope:
- Carcasses sound and square? If the cabinet boxes are dry, rigid, and free of swelling, you can confidently replace fronts and trims only.
- Doors chipped, dated, or misaligned? Replacement doors and hinges solve aesthetics and function in one go.
- Storage frustrating? Add pull‑outs, dividers, and soft‑close runners to improve usability without redesigning the layout.
Match the project to your tools and time:
- Beginner: Replacing handles/knobs, adding soft‑close adapters, swapping a few doors like‑for‑like.
- Confident DIYer: Full door set replacement, hinge transfer/installation, fitting end panels and plinths, adding pull‑outs.
- Advanced or pro: Carcass replacement, worktop changes, appliance repositioning (note: electrics, gas, and stone worktops require professionals).
Select a style that fits your home and daily use:
- High gloss: Reflective, light‑boosting, contemporary—ideal for smaller, darker kitchens.
- Matt: Calm, refined, and forgiving of fingerprints; versatile across styles.
- Handleless (J‑pull or push‑to‑open): Clean, modern lines and easy cleaning.
- Shaker: Timeless frame detail that suits period and modern homes alike.
Coordinate finishes across doors, end panels, and plinths for a cohesive look. For wardrobes, a matching door refresh instantly modernises a bedroom without touching cabinetry. Doorfinder offers a wide range of styles and finishes, with wardrobe doors from £14.27 and kitchen doors starting at the prices listed above, helping you maintain control of the budget while meeting your design brief.
A step‑by‑step plan to replace doors and panels
1) Audit the room (keep the carcasses, change the fronts)
- Inspect cabinet boxes for water damage, loose joints, or sagging shelves.
- Check hinges and drawer runners; note what can be reused or upgraded.
- Decide the full scope: doors, end panels, plinths, handles, hinges, and storage add‑ons.
2) Measure existing doors, hinge positions, and end panels precisely
- Record each door’s width and height in millimetres.
- Note left‑ or right‑hand opening.
- Measure the centre of hinge cup holes from the top and bottom edges (typical 35 mm cup), and the distance from the door edge to the cup hole.
- For cabinets with multiple doors, check consistency—do not assume all are the same size.
- Measure end panels (height, width) and plinth height; note any scribe required to fit uneven floors or walls.
3) Pick a style and finish to fit the home—and coordinate panels and trims
- Shortlist two or three finishes (e.g., high gloss, matt, handleless, shaker).
- Confirm matching or complementary end panels, plinths, and any filler strips for a built‑in look.
4) Order colour samples and confirm measurements
- Order swatches to view colours and sheen in your actual light.
- Double‑check all measurements; compare against product specs before ordering.
5) Prep tools and workspace
- Tools: screwdriver or drill/driver, spirit level, tape measure, masking tape, sharp pencil, and a square; a soft surface or bench to protect new doors.
- Have spare screws, packers/shims, and edge protectors to hand.
6) Fit new doors, transfer or install hinges, adjust for alignment, add soft‑close
- Transfer existing hinges if sound, or install new quality hinges.
- Fit doors loosely, then fine‑tune using hinge adjustments (height, side‑to‑side, in‑out) until gaps are even and faces flush.
- Add soft‑close adapters or integrated soft‑close hinges for a premium feel.
7) Update handles/knobs or go handleless
- If adding handles, mark hole positions using a template; apply masking tape to reduce breakout; drill from the show face outwards with care.
- For handleless options, ensure door style (e.g., J‑pull) and cabinet clearances suit the layout.
8) Add storage solutions to boost usability
- Fit pull‑out baskets, pan drawers, corner solutions, and cutlery or pan dividers.
- Consider door‑mounted racks and internal organisers to make everyday items reachable.
9) Finish with matching end panels and plinths
- Scribe end panels to walls/floors for a seamless, fitted finish.
- Align plinths and use clips for easy removal; seal along the floor where appropriate and maintain appliance ventilation clearances.
With Doorfinder’s range—doors from £10.06 and replacement wardrobe doors from £14.27, plus panels, plinths, hinges, and storage add‑ons—you can complete this sequence efficiently. Free delivery across the UK mainland and expert advice support a smooth installation, and the lowest price guarantee helps safeguard your budget.
Cost planning and measuring—quick guides
Cost‑planning checklist:
- Scope: List every visible component—doors, end panels, plinths, hinge packs, handles/knobs, storage inserts, and any filler or trim.
- Contingency: Reserve 10–15% for unexpected needs (extra hinges, drill bits, touch‑up materials).
- Disposal: Plan removal of old doors and packaging; check local recycling or bulky‑waste services.
- Lead times: Confirm manufacturing and delivery windows before you strip anything out. Doorfinder’s 24/7 online ordering helps you schedule, and free UK mainland delivery reduces last‑mile costs.
- Tools and sundries: Include bits, screws, packers, surface protection, and dust control.
- Downtime: Factor in the cost of limited kitchen use during installation days.
Quick measuring guide:
- Measure every door individually in millimetres (width × height), even if they look identical.
- Record hinge cup positions: distance from top edge to centre, bottom edge to centre, and from the side edge to the cup centre.
- Note door handing (left/right) and any unusual openings (corner units, bi‑folds).
- Measure drawer fronts separately; do not assume they match door sizes.
- Check plinth height across the room; floors are rarely perfectly level.
- For end panels, measure visible width and full height; add allowance if scribing to walls.
- Photograph each cabinet with a ruler in shot; keep a spreadsheet or sketch plan to minimise errors.
- Before ordering, compare your measurements against supplier size charts and tolerances. If in doubt, ask for advice—Doorfinder’s team can help you verify orders before they go to production.
Mistakes to avoid, when to call a professional, and simple maintenance
Common mistakes to avoid:
- Ordering the wrong size: a 2–3 mm error can prevent doors from closing. Measure twice, order once.
- Skipping colour samples: lighting varies dramatically between showrooms and homes.
- Mixing hinge types: overlay vs inset and differing hinge angles (e.g., 110° vs 165°) do not interchange cleanly.
- Drilling handle holes without a template: misaligned hardware is hard to unsee.
- Ignoring panels and plinths: new doors with old trims look unfinished.
- Overlooking tolerances: leave consistent gaps so doors can open freely next to walls, appliances, and each other.
When to call a professional:
- Gas: Any work involving gas appliances must be carried out by a Gas Safe registered engineer.
- Electrical: New circuits and most fixed wiring changes fall under UK Building Regulations (Part P). Use a qualified electrician.
- Stone worktops: Cutting or re‑fitting stone requires specialist equipment and skill.
- Structural changes: Alterations to walls, openings, or load‑bearing elements require professional assessment and building control approval.
Simple maintenance tips for a lasting finish:
- Clean with a soft cloth and mild soapy water; avoid abrasives and harsh solvents.
- Wipe spills promptly, especially around sink and kettle areas to prevent steam or water damage.
- Periodically tighten handle and hinge screws; re‑adjust hinges if gaps drift.
- Use felt pads behind doors where they meet walls or tall units to protect finishes.
- Keep plinths clear of standing water and ensure ventilation gaps for appliances remain open.
A refreshed kitchen or wardrobe need not be risky, costly, or complex. By replacing visible components and upgrading fittings, you can achieve a substantial transformation in days. With Doorfinder’s wide selection of doors, end panels, plinths, and accessories—supported by a lowest price guarantee, expert advice, and free UK mainland delivery—you can turn inspiration into a durable, affordable, and compliant result.