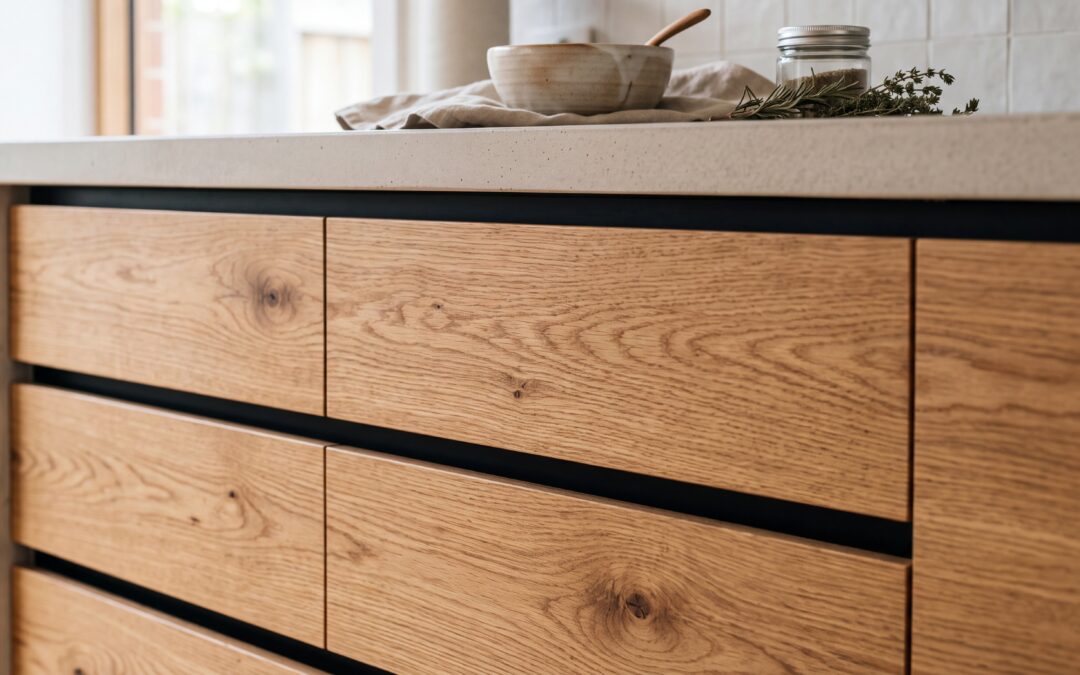
The kitchen is often described as the heart of the home, representing a major hub of daily activity and social gathering. Over time, however, frequent use and the inevitable scuffs of daily life can leave your cabinetry looking tired and dated. Fortunately, achieving a revitalised aesthetic does not require the expense or disruption of a complete demolition. If the underlying cabinet carcasses remain structurally sound, simply replacing kitchen drawer fronts and cabinet door panels can deliver a dramatic transformation, allowing you to update your space efficiently and sustainably.
The Benefits of Swapping Drawer Fronts
Opting to replace only the external elements of your cabinetry is an incredibly practical decision. Rather than undertaking a complete tear-out, choosing to refresh, not refit helps to keep project costs manageable while significantly reducing environmental waste. Cabinet carcasses generally endure far longer than the visible fronts that bear the brunt of daily physical contact. By updating these visible surfaces, you can achieve a sophisticated, modernised look at a fraction of the cost of a full renovation.
Furthermore, this methodology allows you to introduce contemporary styles, such as handleless or slim-shaker profiles, without altering your existing layout. If you want to complement your new drawer fronts, a comprehensive selection of modern replacement kitchen doors and drawer fronts is available to ensure a perfectly coordinated finish across your entire space.
Measuring and Preparation: The Key to Precision
The success of any kitchen update hinges on precise preparation. When replacing kitchen drawer fronts, do not rely on standard industry assumptions; instead, measure each existing front individually. Use a high-quality tape measure to record the height and width in millimetres, ensuring you measure the back of the drawer front to avoid any chamfered edge discrepancies.
It is also essential to assess how the drawer fronts are attached to the drawer boxes. Many modern systems use specific brackets or fixing clips that screw into the reverse of the front panel. When ordering replacements, you must decide whether to reuse your existing drawer boxes or upgrade the entire assembly. For example, if your current drawer runners lack a smooth glide, you might consider installing a complete base full drawer unit to restore effortless functionality alongside your aesthetic upgrade.
Step-by-Step Installation Guide
Once your new drawer fronts arrive, the installation process can be completed systematically over a weekend. Follow these structured steps to ensure a flawless alignment:
- Removal: Carefully release the drawer box from its runners. Unscrew the old drawer front from the internal drawer structure, taking note of how any adjustable brackets are positioned.
- Marking and Drilling: Transfer the bracket positions to the reverse of the new drawer front. Double-check all alignments before pre-drilling pilot holes to prevent the timber or laminate from splitting.
- Attachment: Secure the brackets to the new panel, then attach the panel back onto the drawer box. If you are upgrading your interior storage, this is also the ideal moment to install a premium glass side kit to elevate the internal aesthetic.
- Adjustment: Reinsert the drawer into the cabinet carcass. Use the built-in adjustment screws on the drawer runners or brackets to fine-tune the alignment, ensuring the gaps between adjacent drawers and doors are perfectly consistent.
Completing the Vision
By focusing your energy on these visible surfaces, you can execute a highly rewarding project that makes your kitchen feel entirely rejuvenated. To explore the full potential of these budget-smart alterations, read our comprehensive guide on selecting replacement kitchen doors. With a methodical approach to measuring and a keen eye for styling, replacing kitchen drawer fronts is an incredibly rewarding DIY endeavour that enhances both the value and the daily enjoyment of your home.