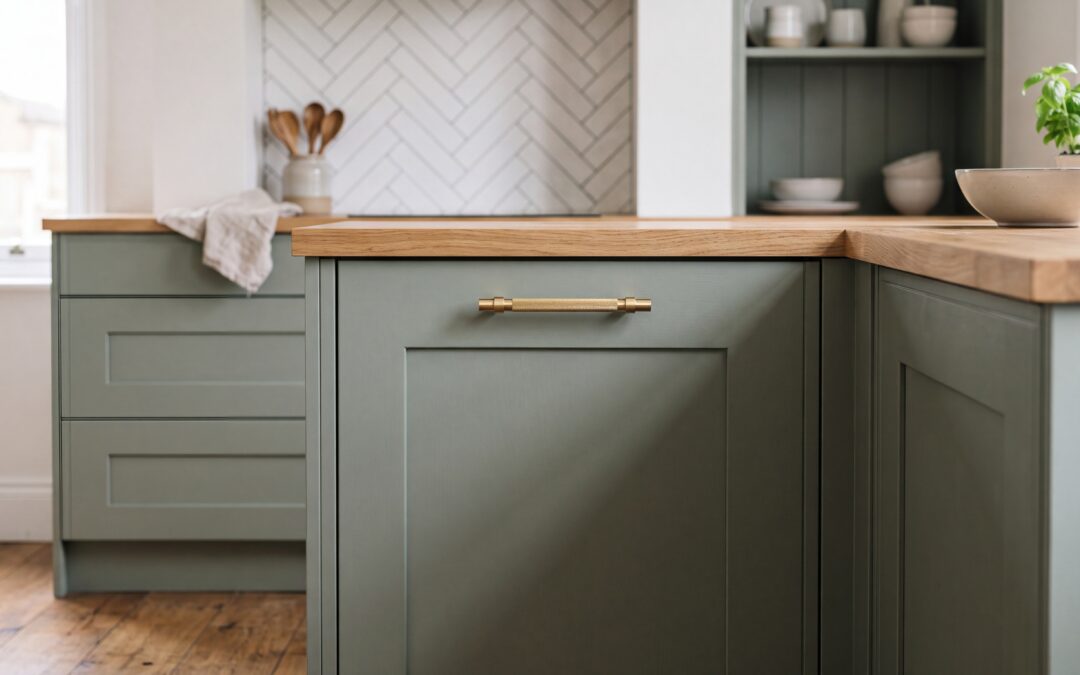
Upgrading your kitchen doesn’t have to mean ripping out the entire room. If your cabinet carcasses are still structurally sound, simply fitting replacement kitchen doors can give you a brand-new look at a fraction of the cost. Whether you’re aiming to refresh a standard flat-pack setup with replacement kitchen doors for B&Q or looking to overhaul your entire layout, this DIY project is highly rewarding and surprisingly straightforward.
Step 1: Preparation and Measuring
Before ordering your new fronts, you need to ensure you have the correct measurements. Getting this stage right is crucial for a stress-free installation. If you’re unsure where to start, read our step-by-step guide on how to measure kitchen cupboard doors to avoid any costly mistakes.
Once you have your exact dimensions, you can browse through our full selection of made-to-measure kitchen doors or visit the main Doorfinder shop to choose your preferred style. Do you prefer a sleek, ultra-modern look? Consider opting for minimalist handleless kitchen doors. Or perhaps a contemporary, soft-touch aesthetic with replacement matt kitchen doors is more your style. If you want something classic and versatile, the beautiful Bella kitchen doors range offers incredible options to suit any home.
Step 2: Gather Your Tools
To fit your new doors successfully, you’ll need a few basic tools:
- A standard tape measure and pencil
- A screwdriver (usually a PZ2 Pozidriv)
- A drill with a 35mm Forstner bit (if your doors aren’t pre-drilled for hinges)
- A spirit level to ensure everything is perfectly level
- A pair of quick-release clamps (optional, but very helpful)
Step 3: Preparing the New Doors
If you ordered your doors pre-drilled, you can skip straight to hanging them. If not, you’ll need to drill the hinge holes yourself. Lay the door face-down on a soft, clean surface to protect the finish. Measure and mark the centre point for each hinge hole, ensuring they align perfectly with the hinge plates on your cabinet carcasses.
Carefully drill the 35mm hinge holes to the correct depth (usually around 12mm to 13mm). Be extremely careful not to drill all the way through the face of the door. Once drilled, insert the hinge cups into the holes, ensure they are perfectly square to the edge of the door, and secure them with the provided screws.
Step 4: Fitting Kitchen Doors to the Carcass
Align the hinge arms on the door with the mounting plates on the inside of the cabinet carcass. If you’re using modern clip-on hinges, simply hook the front of the hinge onto the plate and push the back of the arm down until you hear it click into place. For slide-on hinges, slide the arm onto the plate and tighten the securing screw.
Step 5: Adjusting and Aligning
Once hung, your doors may look slightly crooked or uneven. Don’t worry—this is completely normal. Modern cabinet hinges feature three adjustment screws that allow you to fine-tune the alignment:
- The front screw: Adjusts the door side-to-side, helping to align the vertical gaps between doors.
- The centre screw: Adjusts the depth, moving the door closer to or further away from the carcass front.
- The back screw: Loosens the hinge from the plate, allowing you to slide the door up or down to level it.
Work patiently, adjusting one screw at a time and checking the door alignment with your spirit level as you go.
Achieve a Professional Finish
With a little patience, fitting kitchen doors is a brilliant weekend project that can completely modernise your home. If you want to plan your project step-by-step, check out our guide on completing a weekend kitchen transformation for more practical advice. Explore our complete range of kitchen cabinet doors today to find the perfect style for your home upgrade.