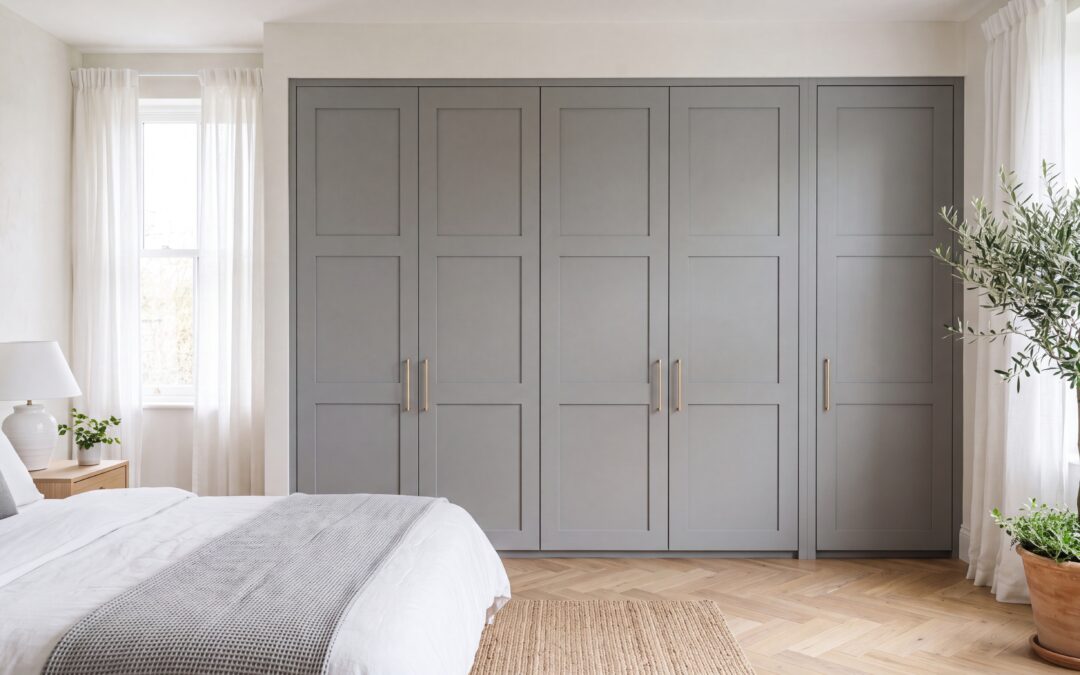
Refreshing the aesthetic appeal of a bedroom does not require a disruptive, costly, and resource-intensive renovation. If the structural integrity of your existing wardrobe carcasses remains sound, the most efficient and sustainable path to a sophisticated interior is replacing wardrobe doors. This process allows you to update colours, textures, and architectural styles without unnecessary waste.
By opting to swap doors, not units, you can achieve a bespoke, designer finish at a fraction of the cost. Whether your cabinetry originates from major high-street brands or custom builds, this professional, step-by-step guide will assist you in executing a seamless installation.
Step 1: Evaluate Your Existing Cabinetry
Before sourcing new components, inspect the current wardrobe frames. Check for sagging, moisture damage, or structural instability. If the carcasses are sturdy, they are ideal candidates for an upgrade. Replacing only the visible elements allows you to modernize your space whilst retaining your practical storage layout.
Step 2: Select Your Style and Order Samples
Step 2: Select Your Style and Order Samples
Selecting the correct profile and finish is vital to establishing the desired aesthetic in your bedroom. Options range from the sleek minimalism of handleless slab doors to the classic structure of panelled designs. For instance, the Bella Aldridge Wardrobe Door offers a refined, structured design that seamlessly bridges the gap between traditional craftsmanship and contemporary elegance.
Because lighting conditions and existing decor heavily influence how colours appear in situ, ordering wardrobe door samples is highly recommended. This allows you to verify both texture and tone within your bedroom before placing a complete order.
Step 3: Measure Accurately
Precision is paramount when ordering new components. Rather than relying on nominal measurements, measure the reverse of your existing doors in millimetres, noting the precise height and width of each panel. Additionally, measure the hinge hole positions. Standard industry practice requires measuring from the top and bottom edges of the door to the centre of the 35mm hinge holes.
Step 4: Remove the Old Doors
To initiate the physical replacement process, carefully unclip or unscrew the existing hinges from the mounting plates attached to the wardrobe carcasses. We advise having an assistant support the weight of the door during this step to prevent structural damage or injury. Once removed, set the old doors aside for responsible disposal or recycling.
Step 5: Prepare and Fit the New Hinges
If you have selected pre-bored replacement bedroom wardrobe doors, fitting the hinges is remarkably straightforward. Insert the hinge cups into the pre-drilled holes on the reverse of the new doors, ensuring they are perfectly square to the edge, then secure them firmly with appropriate wood screws.
Step 6: Mount and Align the New Doors
With the hinges secured to the new panels, lift each door into position and align the hinge arms with the existing mounting plates on the wardrobe carcass before clicking or screwing them into place. Once mounted, you will likely need to make micro-adjustments. Most modern hinges feature adjustment screws that allow you to modify the lateral, vertical, and depth alignment of the doors, ensuring perfectly uniform gaps and a flawless, flush finish.
Achieve a Professional Finish
By following this methodical approach, you can successfully modernize your storage solutions with minimal disruption. For a broader overview of home renovation techniques, consult our comprehensive door replacement guide. Investing in premium materials and dedicating time to precise measurement ensures an elegant, durable transformation that elevates the aesthetic value of your home.