Upgrading your home by choosing to swap the doors, not the cabinets is a brilliant, budget-friendly way to refresh your living space. However, if you’re buying blank doors to hang on your existing carcasses, the thought of drilling hinge holes can feel a bit daunting. What if you drill too deep? What if the doors don’t align?
Don’t worry—getting this task right is much easier than it looks. With standard DIY tools and a little patience, you can achieve a professional-grade finish without having to hire a joiner. Here’s our straightforward guide to help you master the process.
Why Precision Matters
Before you pick up your drill, it’s worth noting that accuracy is the key to success. Proper alignment ensures your cabinet doors open smoothly, shut flush, and hang completely straight. If you need a quick refresher on getting your numbers right, check out our comprehensive measuring kitchen doors guide. Spending an extra ten minutes double-checking your marks will save you a lot of headaches later on.
Tools You’ll Need
To tackle the job of drilling hinge holes, gather these essential items:
- A power drill
- A 35mm Forstner bit (the standard diameter for most modern cabinet hinges)
- A tape measure and a sharp pencil
- Masking tape (perfect for marking your depth)
- Safety goggles
A Step-by-Step Guide to Drilling Hinge Holes
Ready to start? Lay your door flat on a clean, stable work surface and follow these simple steps:
1. Mark Your Centres
Most standard cupboards have hinge positions located roughly 100mm from the top and bottom of the door. Use your tape measure to mark this height, then measure 22.5mm in from the outer edge of the door. The intersection of these two lines is the absolute centre of your 35mm hinge cup. For more tips on finding these coordinates, see our guide on how to measure kitchen cupboard doors.
2. Set Your Drill Depth
The most common DIY mishap is drilling straight through the decorative front face of the door. To prevent this, hold your 35mm Forstner bit up to the side profile of the door. Most standard hinge cups require a depth of about 12mm. Wrap a piece of masking tape tightly around the shaft of the drill bit at this exact depth. This acts as a highly visible stopper guide, telling you precisely when to pull back.
3. Drill the Holes
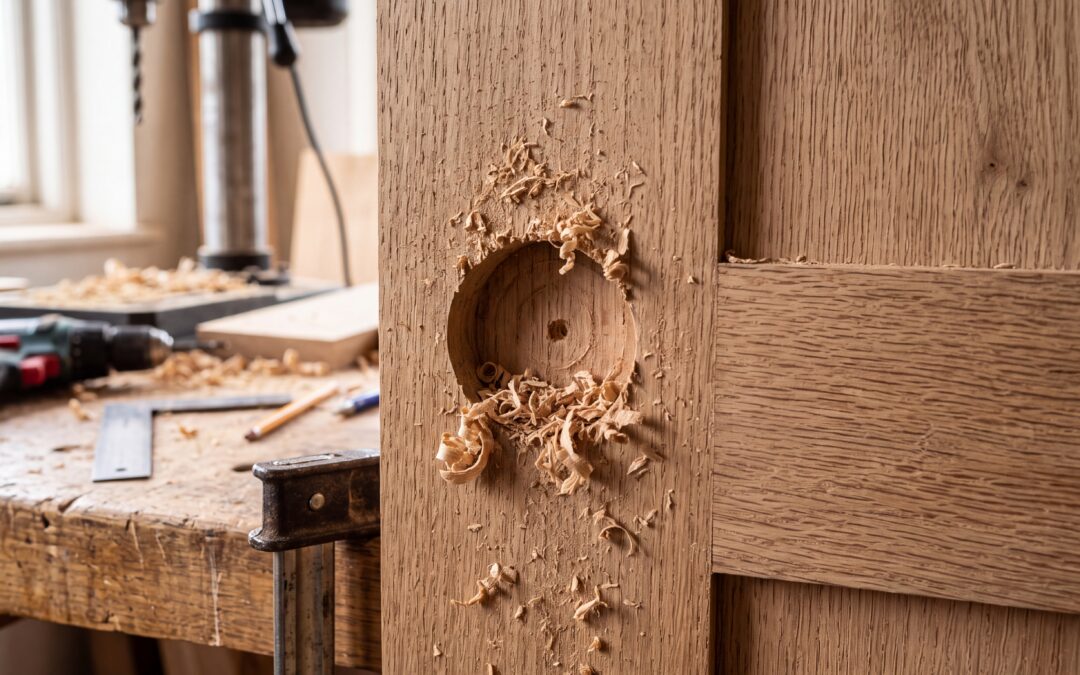
Place the point of your Forstner bit directly on your pencil mark. Holding the drill completely vertical, apply steady downward pressure and begin drilling at a moderate speed. Keep an eye on your tape line; the moment the tape meets the wood surface, stop drilling immediately. Blow away the sawdust to inspect your clean, flat-bottomed recess.
4. Fit Your Premium Hinges
Once your hinge holes are drilled, your hardware should slot right in. For a premium, quiet feel, we recommend upgrading to the Hettich 110° Soft Close Hinge & Plate. It’s incredibly robust, easy to adjust, and ensures your doors never slam shut. You can browse our complete collection of door hinges or read our guide on choosing the right kitchen cabinet hinges to find the exact style and angle for your layout.
Adding the Finishing Touches
Once your doors are hung, adjusted, and looking perfectly aligned, you’re ready for the final step. Fitting stylish new door handles will completely pull your kitchen or bedroom refresh together. If you’re unsure where to position them or how to drill the mounting holes, our step-by-step guide on how to install kitchen door handles will take you through it from start to finish.