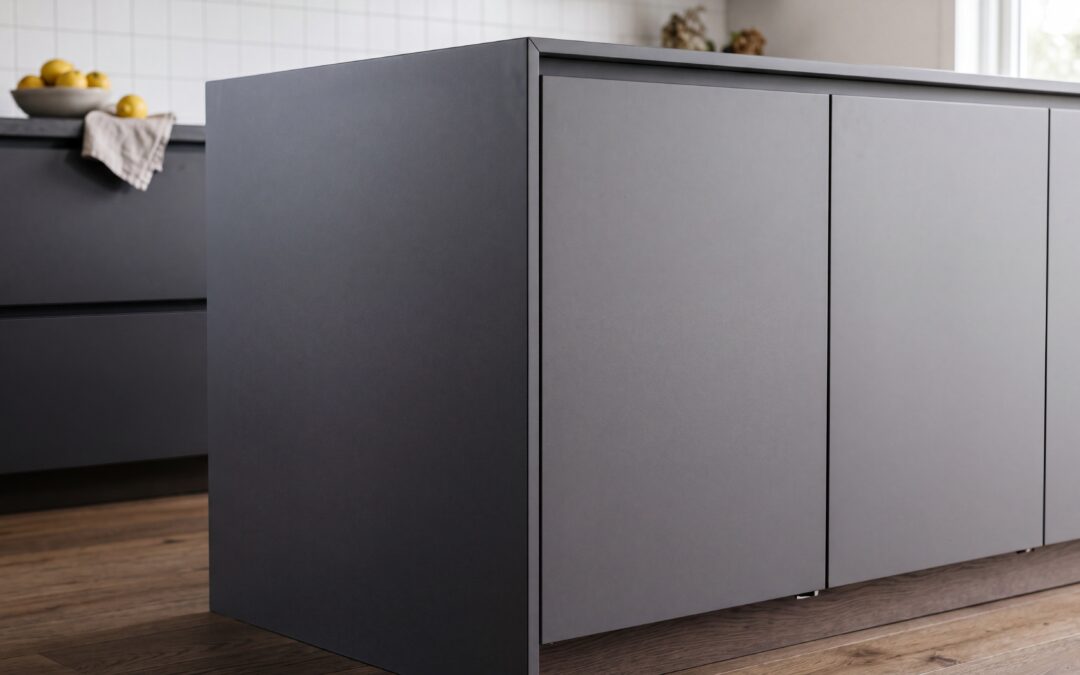
When you are planning a kitchen refresh, it is easy to focus entirely on the cabinet doors and worktops. However, there is a hidden hero that ties the whole look together: kitchen end panels. Without them, the raw, plain sides of your cabinet carcasses remain exposed, ruining the seamless look of your kitchen. Whether you are installing brand-new kitchen units or giving your existing space a quick makeover, choosing and fitting the right end panels is essential.
If you want to transform your kitchen in a weekend, understanding how to select and install these panels will save you time, money, and hassle. Here is our practical guide to choosing and fitting kitchen end panels like a professional.
Choosing the Right Kitchen End Panels
The primary job of an end panel is to match or complement your cabinet doors. If you have selected modern, non-reflective cupboard fronts, you will want to choose matching replacement matt kitchen doors and panels to keep the finish uniform. Alternatively, for a classic, rustic, or country-style kitchen, you might opt for a textured finish like the Newmarket T&G Veneered End Panel, which adds beautiful depth and traditional character.
You also need to consider where the panels are going. Standard panels are designed to fit different types of cabinets:
- Wall units: Usually shallower, matching the depth of your kitchen wall units.
- Base units: Sized to run from the floor (or just above the plinth) to the underside of the worktop, covering the sides of your kitchen base units.
- Breakfast bars and islands: These require larger, often double-sided panels, such as the Newmarket T&G Veneered Breakfast Bar End Panel, to cover expansive exposed areas beautifully.
How to Measure and Choose Your Sizes
Always measure twice and cut once. End panels are usually supplied slightly larger than the cabinet itself. This extra overhang allows you to scribe the panel to uneven walls or floors, ensuring a perfectly flush finish. When browsing kitchen & bedroom made-to-measure panels, make sure you factor in this scribing allowance. If your walls are perfectly straight, you can order panels cut exactly to size, but a little extra wiggle room is always safer for DIY installations.
Step-by-Step: How to Fit Kitchen End Panels
Fitting end panels is a highly rewarding task that you can easily complete using basic tools. Follow these straightforward steps to get a clean finish:
- Position and mark: Hold the panel against the side of the cabinet. Use a compass or a small block of wood with a pencil to scribe the shape of any uneven wall onto the back edge of the panel.
- Cut to shape: Use a jigsaw or a plunge saw with a fine-toothed blade to cut carefully along your scribed line. Cutting from the back side of the panel helps prevent the decorative front surface from chipping.
- Clamp in place: Once cut, hold the panel back in position. Ensure it sits flush with the front of the cabinet doors (not just the cabinet box itself) for a modern, seamless look. Clamp it firmly in place.
- Secure from the inside: Never screw into the panel from the outside. Instead, open the cabinet door and drive screws through the inside of the cabinet carcass directly into the back of the end panel. Be careful to choose screw lengths that are long enough to grip but short enough not to pierce through the outer decorative face.
Achieve the Ultimate Cohesive Look
Investing in high-quality kitchen cabinet doors & drawers along with matching end panels completely elevates the overall feel of your home. If you are planning a complete overhaul, check out the wide range of options in our kitchen doors selection to find the perfect style and finish to suit your personal taste. With the right panels in place, your DIY kitchen renovation will look every bit as polished as a professional installation.